RV Roof Repair Guide: Signs of Leaks & When to Call a Professional
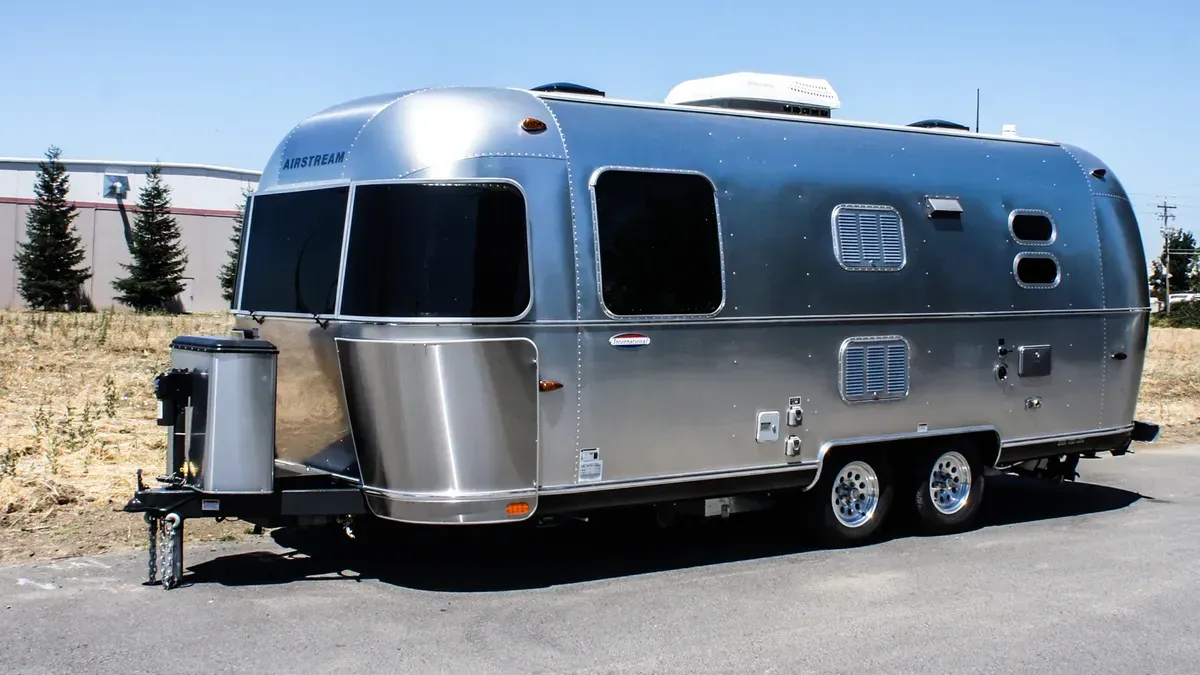
The RV roof is one of the most critical structural components of any motorhome or travel trailer. It protects insulation, electrical wiring, ceiling panels, cabinetry, and structural framing from water intrusion and environmental damage. Even minor deterioration can escalate into severe interior damage if left unaddressed. In this comprehensive guide, we detail clear warning signs of RV roof leaks, precise inspection techniques, proven repair solutions, and specific situations where professional RV roof repair services are necessary.
Understanding RV Roof Construction and Materials
Effective repair begins with identifying the roof material. Most RV roofs are constructed using one of the following:
- EPDM Rubber Roofing
- TPO Roofing Membrane
- Fiberglass Roof Panels
- Aluminum Roofing Sheets
Each material requires specific sealants, patching techniques, and maintenance procedures.
EPDM Rubber Roof
Flexible and cost-effective, EPDM is common on travel trailers and fifth wheels. It requires regular resealing and UV protection treatments.
TPO Roof
More resistant to dirt accumulation and punctures, TPO roofing demands compatible adhesives and sealants.
Fiberglass Roof
Durable and rigid, fiberglass roofs are found on higher-end motorhomes and require specialized gel coat repair methods.
Aluminum Roof
Lightweight and durable, aluminum roofs are resistant to cracking but susceptible to seam leaks.
Proper identification ensures correct repair materials and long-term durability.
Early Signs of RV Roof Leaks
Water intrusion rarely appears immediately after damage occurs. We monitor the following indicators to detect leaks early:
1. Interior Ceiling Stains
Brown or yellow discoloration on ceiling panels indicates moisture penetration from above.
2. Soft or Spongy Roof Areas
When walking on the roof, soft spots signal underlying wood rot caused by prolonged water exposure.
3. Peeling Wallpaper or Wall Bubbling
Water travels downward through insulation and wall cavities before becoming visible.
4. Mold or Mildew Odor
Persistent musty smells often originate from hidden moisture accumulation.
5. Cracked or Dried Sealant
Inspect roof seams, vents, skylights, and air conditioning units for cracked lap sealant.
Immediate attention prevents structural degradation.
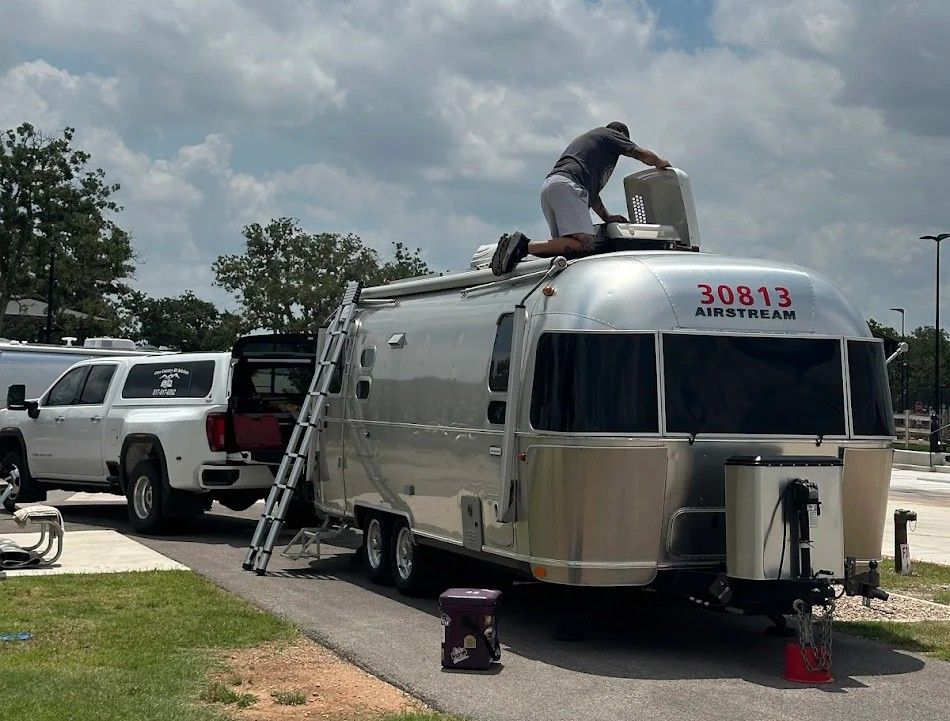
Comprehensive RV Roof Inspection Checklist
We conduct roof inspections at least twice annually using the following method:
- Examine all roof seams and edges
- Inspect around vents, antennas, skylights, and AC units
- Check lap sealant for cracking or separation
- Inspect roof membrane for tears or punctures
- Look for pooling water areas
- Examine roof-to-sidewall transition moldings
A moisture meter helps detect hidden water infiltration beneath the membrane.
Common Causes of RV Roof Leaks
Identifying the root cause ensures permanent repair.
UV Damage and Sealant Deterioration
Continuous sun exposure dries and cracks sealants over time.
Improper Maintenance
Neglected resealing schedules allow water entry points to develop.
Tree Branch Impact
Low-hanging branches puncture rubber membranes and crack fiberglass panels.
Improper Installation
Poorly sealed factory seams or aftermarket accessory installations create vulnerabilities.
Aging Roof Membrane
Most RV roofs require replacement every 10–15 years depending on maintenance.
DIY RV Roof Repair: Step-by-Step Solutions
Minor damage can be repaired effectively with proper materials and preparation.
Repairing Cracked or Failing Sealant
Materials Required:
- Plastic scraper
- Self-leveling lap sealant (compatible with roof type)
- Cleaning solution
Procedure:
- Remove old, cracked sealant carefully.
- Clean surface thoroughly.
- Apply new self-leveling sealant evenly.
- Allow 24 hours curing time.
This process restores waterproof sealing around roof penetrations.
Patching Small Tears in Rubber Roofs
Materials Required:
- EPDM patch kit
- Rubber roof cleaner
- Roller tool
Procedure:
- Clean damaged area thoroughly.
- Cut patch larger than tear by at least two inches on all sides.
- Apply adhesive and press firmly.
- Roll patch to eliminate air bubbles.
- Seal edges with lap sealant.
Properly applied patches last several years when maintained.
Repairing Fiberglass Roof Cracks
Materials Required:
- Fiberglass repair kit
- Sandpaper (80–120 grit)
- Gel coat finish
Procedure:
- Sand damaged area.
- Apply fiberglass resin and cloth.
- Allow curing.
- Sand smooth.
- Apply matching gel coat.
Fiberglass repairs require precision to maintain structural integrity.
When Roof Resealing Is Necessary
Complete resealing is required when:
- Multiple sealant cracks are visible
- Sealant is brittle or separating
- Water stains appear repeatedly
- Roof is older than five years without maintenance
Professional resealing typically costs between $500 and $1,500 depending on roof size.
Signs Structural Damage Has Already Occurred
We escalate repair plans immediately when observing:
- Extensive soft decking
- Sagging roof sections
- Rotting wood framing
- Interior ceiling collapse
- Delamination on sidewalls
Structural repairs involve removing the roof membrane, replacing plywood decking, repairing insulation, and reinstalling roofing material.
When to Call a Professional RV Roof Repair Service
Certain conditions demand professional expertise:
1. Widespread Water Damage
Large soft spots or ceiling collapse require structural rebuild.
2. Full Roof Replacement
Membrane replacement requires specialized tools and experience.
3. Extensive Mold Growth
Professional remediation prevents health hazards.
4. Insurance Claims
Certified repair documentation supports insurance processing.
5. Complex Fiberglass Damage
Advanced fiberglass restoration demands precision.
Professional roof replacement costs typically range from $4,000 to $12,000 depending on material and RV size.
Full RV Roof Replacement Process
Professional replacement includes:
- Removing old membrane
- Inspecting and replacing damaged decking
- Installing new insulation
- Applying new membrane (EPDM, TPO, or fiberglass)
- Sealing all seams and penetrations
- Final waterproof inspection
Proper installation extends roof lifespan by 10–15 years.
Preventive Maintenance Strategies for Long-Term Protection
We protect RV roofs through proactive maintenance:
- Inspect roof every six months
- Clean membrane with approved cleaners
- Apply UV protectant (for EPDM roofs)
- Remove debris after storms
- Avoid walking unnecessarily on membrane
- Store RV under cover when possible
Consistent maintenance significantly reduces repair costs.
Cost Breakdown of RV Roof Repairs
Typical repair costs include:
- Sealant resealing: $150–$500
- Minor patch repair: $200–$800
- Structural wood repair: $1,000–$5,000
- Full membrane replacement: $4,000–$12,000
- Fiberglass restoration: $1,500–$6,000
Early detection minimizes expenses dramatically.
How Weather Impacts RV Roof Durability
Environmental exposure accelerates wear:
- High heat causes sealant cracking
- Freezing temperatures create expansion fractures
- Heavy rainfall exposes sealing weaknesses
- Hail impact damages fiberglass and rubber
Climate-specific maintenance schedules improve longevity.
Essential Tools for RV Roof Maintenance
We recommend keeping:
- Non-abrasive roof cleaner
- Self-leveling lap sealant
- Moisture meter
- Rubber roof patch kit
- Caulking gun
- Safety harness for elevated work
Preparedness reduces emergency repair situations.
Final Thoughts on Protecting Your RV Roof
An RV roof leak never resolves itself. Small sealant cracks evolve into structural damage, insulation rot, and interior mold. By conducting regular inspections, applying timely sealant repairs, and addressing soft spots immediately, we maintain structural integrity and prevent expensive rebuilds.
When minor repairs escalate into widespread water damage, professional intervention ensures long-term durability and proper waterproof sealing. Consistent roof care safeguards the RV’s value, protects interior systems, and ensures reliable performance in every climate.
Proactive inspection and decisive repair remain the most effective strategy for preserving the lifespan of any RV roof.
Top of Form