
Upgrading Your Airstream to Lithium Batteries: Inverter, Solar & DC-to-DC Charging
Upgrading Your Airstream to Lithium Batteries: Inverter, Solar & DC-to-DC Charging
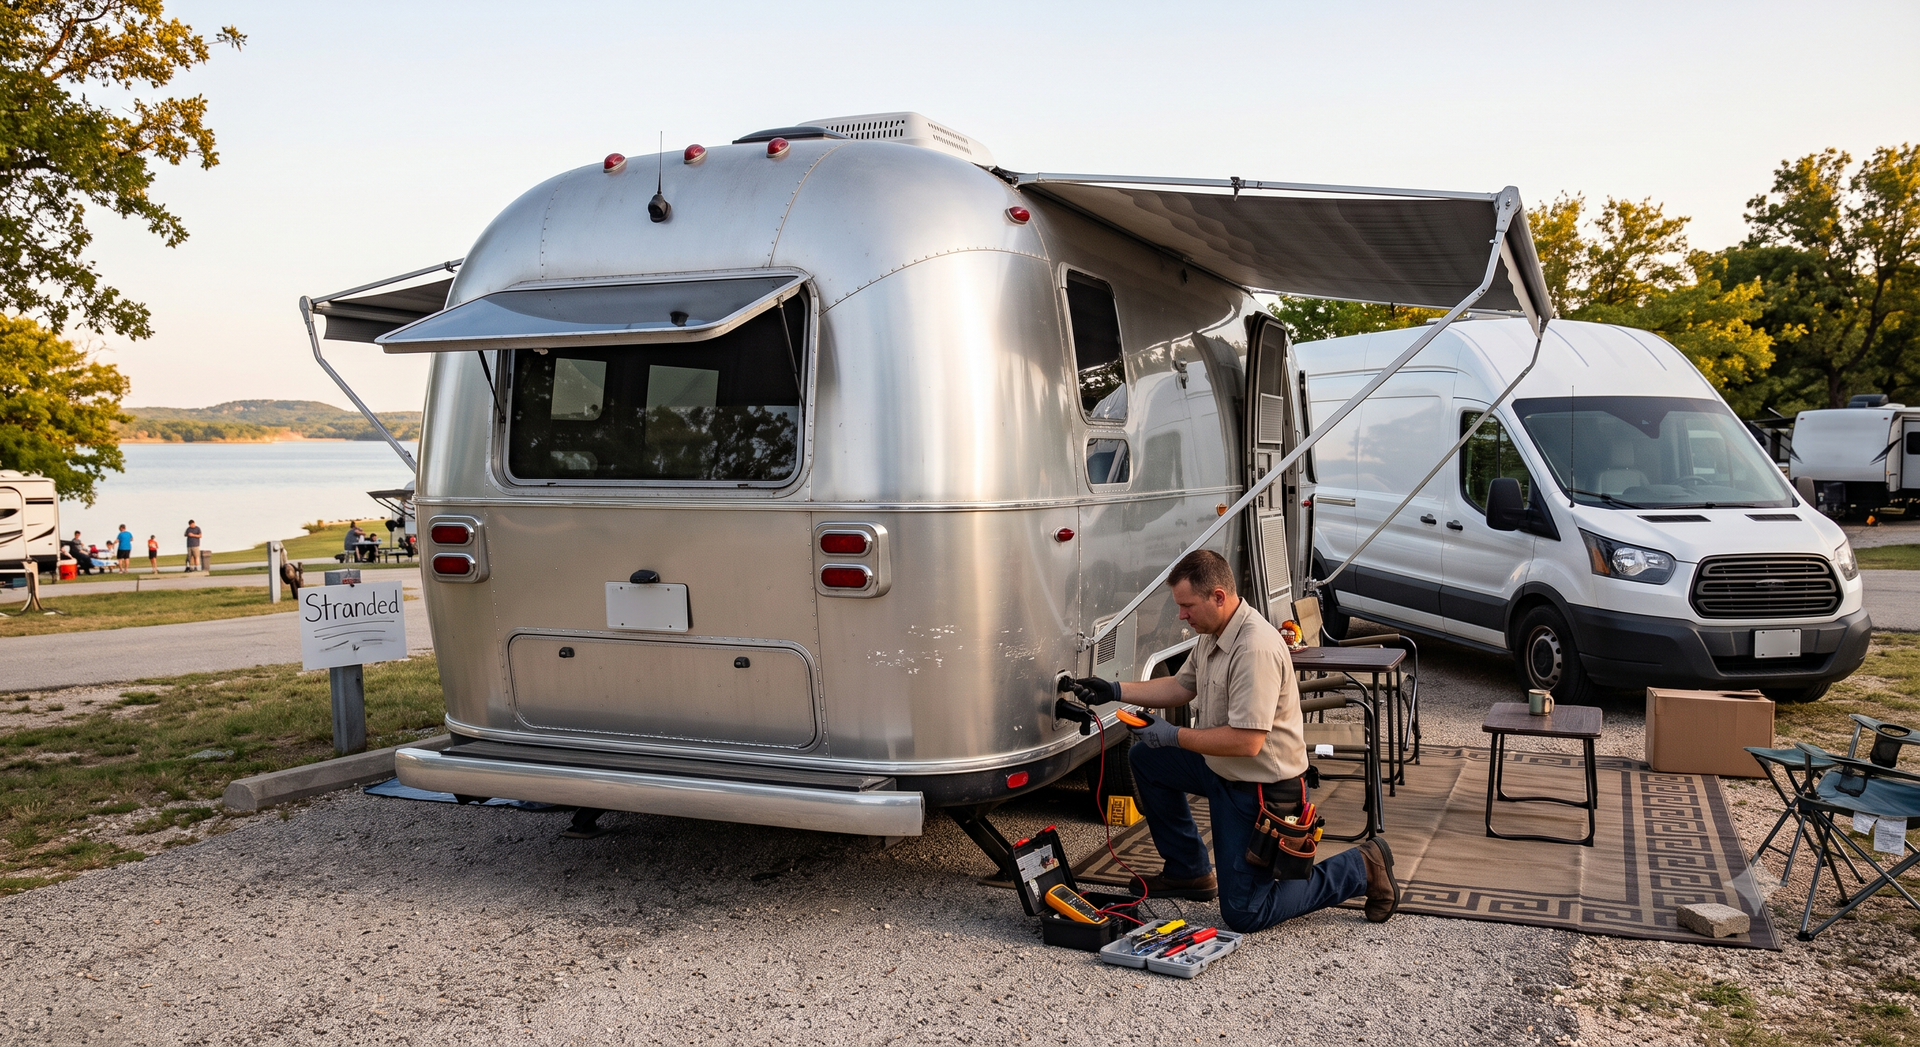
There is nothing quite like towing an iconic silver bullet into the backcountry, far away from crowded RV parks and noisy generators. But if you’ve ever tried boondocking with stock lead-acid or AGM batteries, you know the anxiety of watching your voltage gauge drop before the first night is even over.
Upgrading your Airstream to lithium iron phosphate (LiFePO4) batteries is a game-changer. However, dropping in lithium batteries is only the first step. To unlock their full potential and protect your investment, your charging ecosystem—the inverter/charger, solar array, and tow-vehicle charging (DC-to-DC)—must evolve alongside them.
Here is your complete guide to planning and executing an integrated lithium upgrade for your Airstream.
1. Why Upgrade to LiFePO4 Lithium Batteries?
Traditional lead-acid or AGM batteries have served the RV community for decades, but they carry significant performance bottlenecks:
- Usable Capacity: Lead-acid batteries should never be discharged below 50% without risking permanent cell damage. A 100Ah AGM battery yields only 50Ah of usable power. LiFePO4 batteries can safely be discharged to 100% (or 80–90% for maximum cycle life) without degradation.
- Weight Reduction: Lithium batteries weigh roughly half as much as equivalent lead-acid units, saving critical tongue weight and trailer payload capacity.
- Voltage Stability: Lithium maintains a flat 13.2V–13.4V discharge curve, preventing lights from dimming and water pumps or furnace fans from running sluggishly as power depletes.
- Faster Recharging: Lithium absorbs high charge currents up to nearly 100% capacity, drastically cutting down solar and generator charge times.
2. Relocating Inside: Weather & Tongue Weight
Most factory Airstreams house batteries in an exterior battery box on the front A-frame. Because standard lithium cells cannot safely be charged in sub-freezing temperatures (below 32°F / 0°C without built-in heating elements), many owners relocate their bank:
- Move the battery bank inside: Popular locations include underneath front dinette benches, under the main bed, or inside roadside interior storage compartments.
- Protect from extreme elements: Keeping batteries inside the cabin provides climate-controlled operation, extends overall cell longevity, and deters theft.
- Reclaim tongue weight: Shifting 60 to 100 pounds off the tongue and placing it closer to the axles helps balance your trailer’s center of gravity.
3. The Heart of the System: Inverter/Charger Upgrades
Factory converter/chargers are hardwired for lead-acid charging curves. They cannot achieve the higher absorption voltages (14.2V–14.6V) that LiFePO4 chemistry requires for a complete, balanced charge.
Upgrading to a Hybrid Inverter/Charger (e.g., Victron MultiPlus 2000VA or 3000VA)
- Pure Sine Wave Power: Delivers smooth, clean AC power to sensitive electronics, CPAP machines, and induction cooktops whether plugged into shore power or boondocking off-grid.
- Hybrid Assist Capability: Seamlessly combines battery power with limited shore power or a small generator to start demanding loads like air conditioners or convection microwaves.
- Whole-Coach Inversion: With subpanel rewiring or a 30A/50A passthrough, you can power all onboard outlets instead of being limited to only the factory-designated inverter plugs.
4. Expanding Your Solar Array: Smart MPPT Controllers
Many older Airstreams come standard with basic PWM (Pulse Width Modulation) controllers and low-wattage panels.
- Switch to MPPT Technology: Maximum Power Point Tracking (MPPT) controllers deliver up to 30% higher charging efficiency compared to PWM units, especially during cloudy days or low-angle sunlight.
- Rooftop Panels: Pair 200W to 600W of rooftop monocrystalline panels with a smart MPPT controller (such as a Victron SmartSolar 100/30 or 100/50) for passive replenishment.
- Ground Deploy Port: Add an external solar port with a dedicated controller to set up portable solar panels in the sun while your trailer stays shaded.
5. Tow-Vehicle Integration: The Essential DC-to-DC Charger
A common misconception is that a truck's 7-way trailer connector will adequately charge an onboard lithium bank while driving. In reality:
- Thin 7-Way Wiring: Thin-gauge factory wiring causes substantial voltage drop, restricting charge rates to a sluggish 2 to 5 amps.
- Alternator Strain: Lithium’s low internal resistance causes it to demand high amperage. An unregulated connection can overheat or damage your vehicle's alternator.
- Reverse Current Drain: A resting lithium bank sits at a higher voltage (13.3V+) than a vehicle's 12.6V starter battery, meaning the trailer can inadvertently discharge back into your truck when parked.
The Solution: A Dedicated DC-to-DC Charger
A dedicated DC-to-DC charger (such as the Victron Orion-Tr Smart 12/12-30A):
- Limits charging to a safe, steady 30 amps while driving.
- Steps up the voltage to follow a proper multi-stage lithium profile.
- Automatically cuts off charging when the truck engine turns off, safeguarding the starter battery.
6. System Monitoring & Safe Circuit Protection
Because lithium batteries hold a constant voltage until they are almost empty, a standard LED voltage gauge cannot give an accurate readout.
- Shunt-Based Battery Monitor: Install a precision smart shunt (such as the Victron SmartShunt or BMV-712). By measuring current entering and exiting the battery bank, it reports an accurate state of charge (SoC) percentage directly to your smartphone.
- Class-T Fusing: Lithium batteries can deliver tremendous fault current in the event of an accidental short. Place an appropriately rated Class-T fuse right at the positive terminal before any switches or busbars.
Component Comparison: Factory Setup vs. Lithium Upgrade
Factory / Lead-Acid Setup
- Battery Bank: 100–160Ah AGM batteries with only 50–80Ah of usable capacity.
- Converter/Charger: Basic lead-acid profile delivering a fixed 13.6V bulk charge.
- Inverter: 1000W modified or basic sine wave powering select outlets.
- Solar Controller: Basic PWM controller with low energy capture in partial shade.
- Tow-Vehicle Charging: Unregulated 7-way connection delivering only 3–5 amps.
- Monitoring: Standard tank monitor panel with simple LED indicator bars.
Upgraded Lithium Ecosystem
- Battery Bank: 200–400Ah LiFePO4 batteries with 100% usable capacity.
- Converter/Charger: Multi-stage lithium-specific charger or hybrid MultiPlus inverter/charger.
- Inverter: 2000W–3000W pure sine wave inverter running the entire AC distribution panel.
- Solar Controller: Smart MPPT controller optimizing solar harvest throughout the day.
- Tow-Vehicle Charging: 30A smart DC-to-DC charger with engine shutdown detection.
- Monitoring: Digital Bluetooth amp-hour shunt providing real-time percentage and runtime metrics.
Final Thoughts: Complete Boondocking Freedom
Upgrading an Airstream to lithium is an investment in self-reliance and peace of mind. By matching LiFePO4 batteries with a modern inverter/charger, high-efficiency solar MPPT controllers, and dedicated DC-to-DC alternator charging, your silver bullet transforms into a completely capable off-grid home on wheels.
Frequently Asked Questions (FAQ)
Can I drop lithium batteries into my Airstream without changing anything else?
Technically, yes, but it is not recommended. While 12V LiFePO4 batteries fit standard connections, your factory converter/charger won't charge them past 80–90% because it lacks the higher absorption voltage (14.4V–14.6V) lithium requires. You also risk undercharging from your tow vehicle and inaccurate battery monitoring.
Why do I need a DC-to-DC charger instead of using the standard 7-way plug?
The factory 7-way plug uses thin wiring that results in significant voltage drop, delivering only 2 to 5 amps of trickle charge. Because lithium batteries have low internal resistance, they attempt to pull high amperage, which can overheat or burn out your tow vehicle’s alternator. A DC-to-DC charger regulates the current safely to 30A and stops battery back-draining when the engine is off.
Can lithium batteries freeze?
Lithium batteries can safely discharge in sub-freezing temperatures, but charging them below 32°F (0°C) causes permanent damage called lithium plating. This is why many owners either move their battery bank inside the heated living space or invest in internally heated lithium batteries.
Do I need to replace my factory inverter when switching to lithium?
Not necessarily, but stock inverters are typically smaller (1000W) and wired to power only a few dedicated outlets. Upgrading to a 2000W or 3000W hybrid inverter/charger (such as a Victron MultiPlus) allows you to power every outlet in the trailer, run high-draw appliances like microwaves or induction cooktops, and charge your bank rapidly when plugged into shore power.
Why doesn't my factory battery monitor work accurately with lithium?
Factory monitors measure voltage, which works for lead-acid batteries because their voltage drops steadily as they drain. Lithium batteries maintain a nearly flat 13.2V–13.4V curve until they are virtually empty. To get an accurate reading, you need a shunt-based monitor (like a Victron SmartShunt) that tracks actual amp-hours entering and leaving the bank.
How many amp-hours (Ah) of lithium do I need for boondocking?
For moderate off-grid camping (running lights, water pump, fans, and charging devices), a 200Ah LiFePO4 bank is typically the sweet spot. If you plan to run an inverter for heavy AC appliances, a coffee maker, microwave, or run an air conditioner for short periods, aim for 300Ah to 400Ah+.