
Buying a Used Airstream? 15 Things to Inspect Before You Buy
Buying a Used Airstream? 15 Things to Inspect Before You Buy
Buying a used Airstream can be a great way to enjoy the iconic RV lifestyle without paying the price of a brand-new model. However, a used Airstream should never be purchased based on appearance alone.
A trailer can look beautiful on the outside while hiding expensive problems with the frame, flooring, plumbing, electrical system, appliances, or interior.
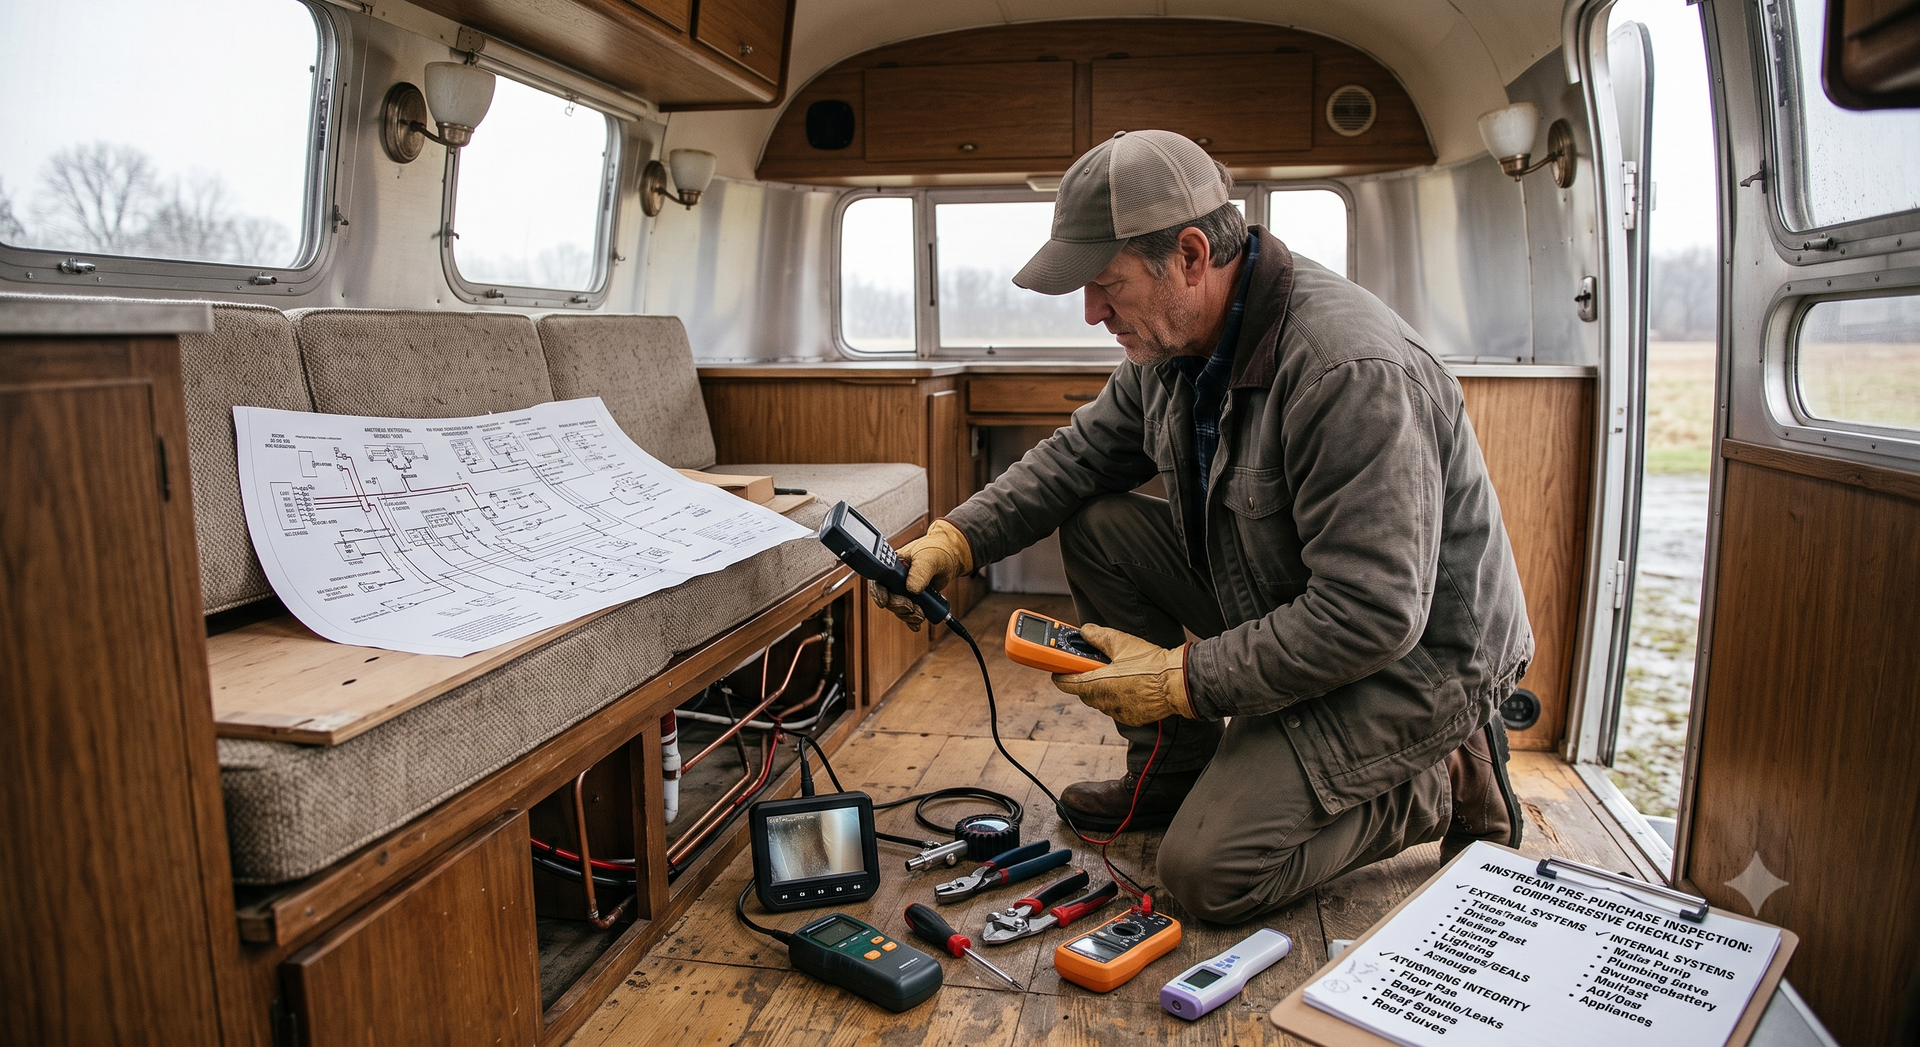
Before you make an offer, take time to complete a thorough used Airstream inspection. Knowing what to look for can help you avoid unexpected repair costs and make a more confident buying decision.
Here are 15 important things to inspect before purchasing a used Airstream.
1. Check the Exterior for Damage
Start with a careful inspection of the aluminum exterior. Look for dents, scratches, cracks, corrosion, loose panels, and signs of previous repairs.
Pay special attention to areas around:
- Corners and seams
- Wheel wells
- Doors and windows
- Exterior storage compartments
- Rear and front panels
- Lower body sections
Previous accident damage may not always be obvious, so look for inconsistencies in panel alignment or finish.
2. Inspect for Water Damage
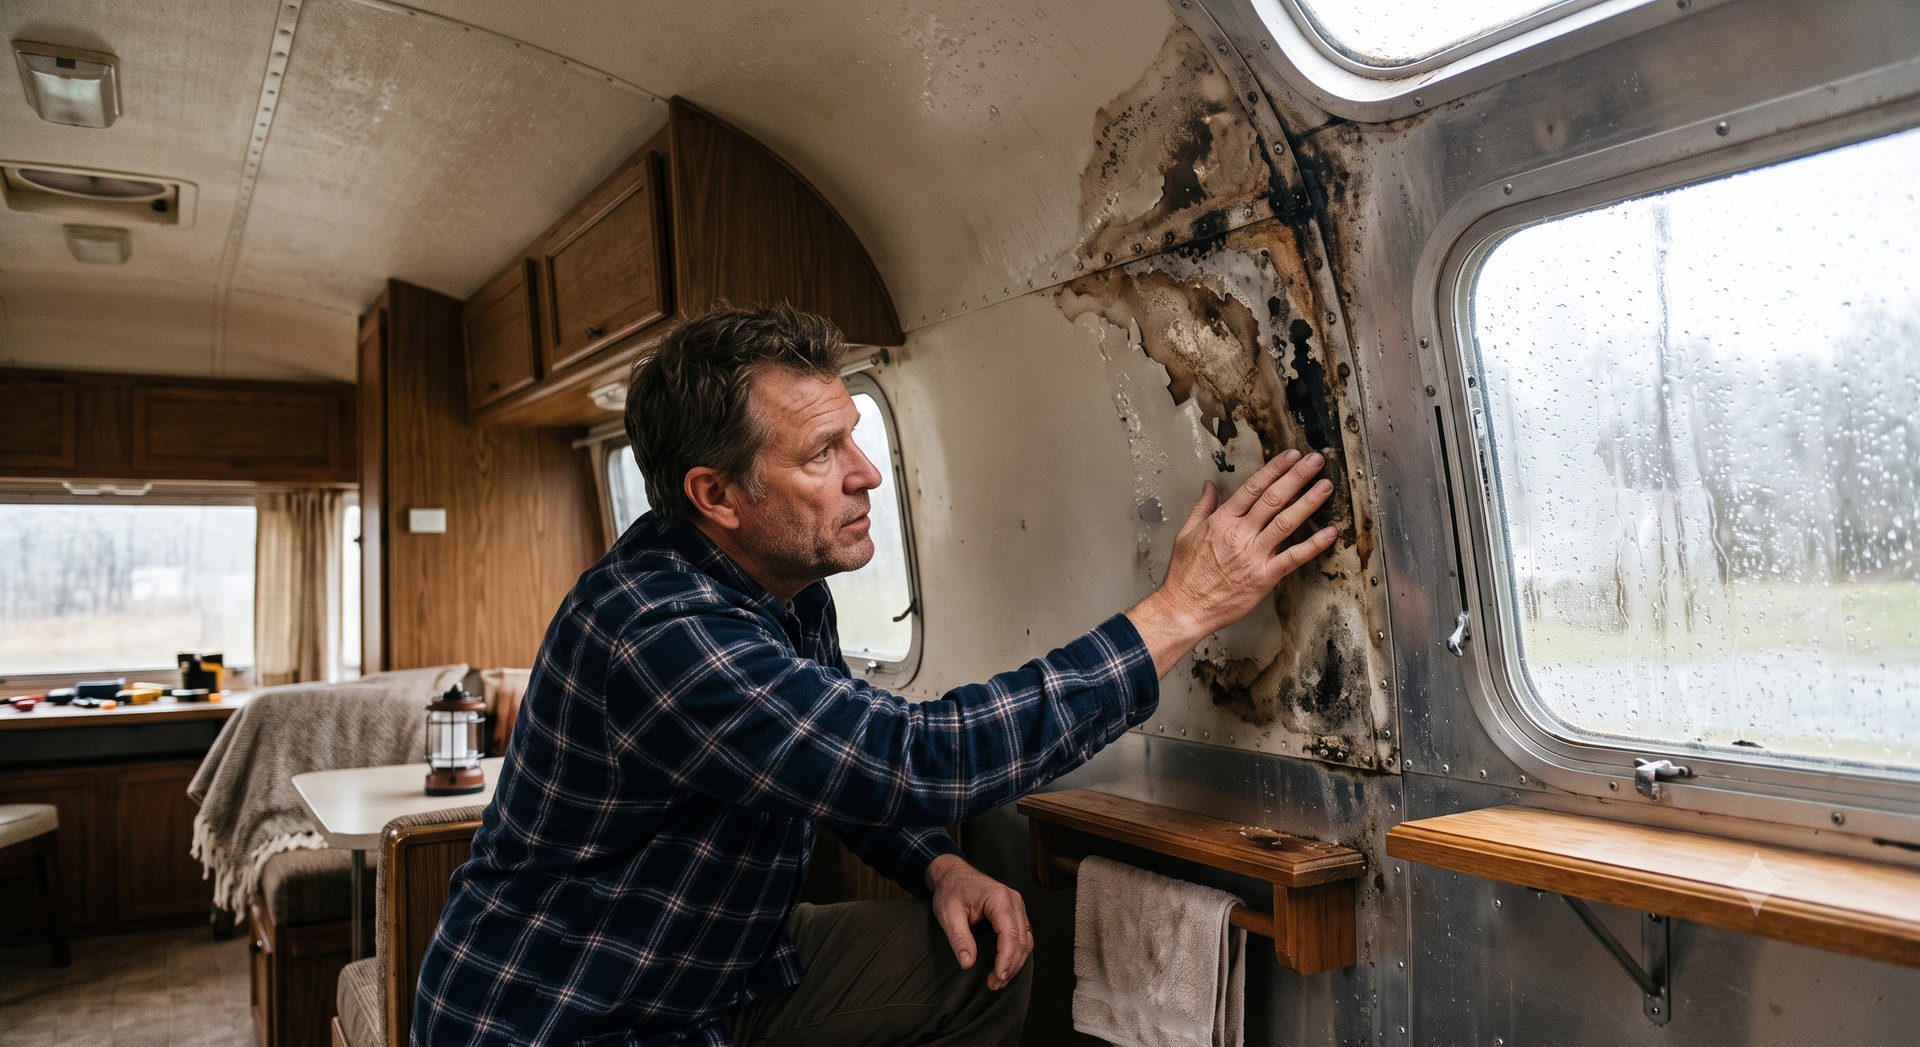
Water damage is one of the biggest concerns when buying a used Airstream.
Check the ceiling, walls, floors, cabinets, and storage areas for:
- Water stains
- Soft flooring
- Musty odors
- Discoloration
- Bubbling or peeling materials
- Mold or mildew
- Damp insulation
Inspect around windows, roof vents, skylights, air conditioners, doors, and plumbing fixtures.
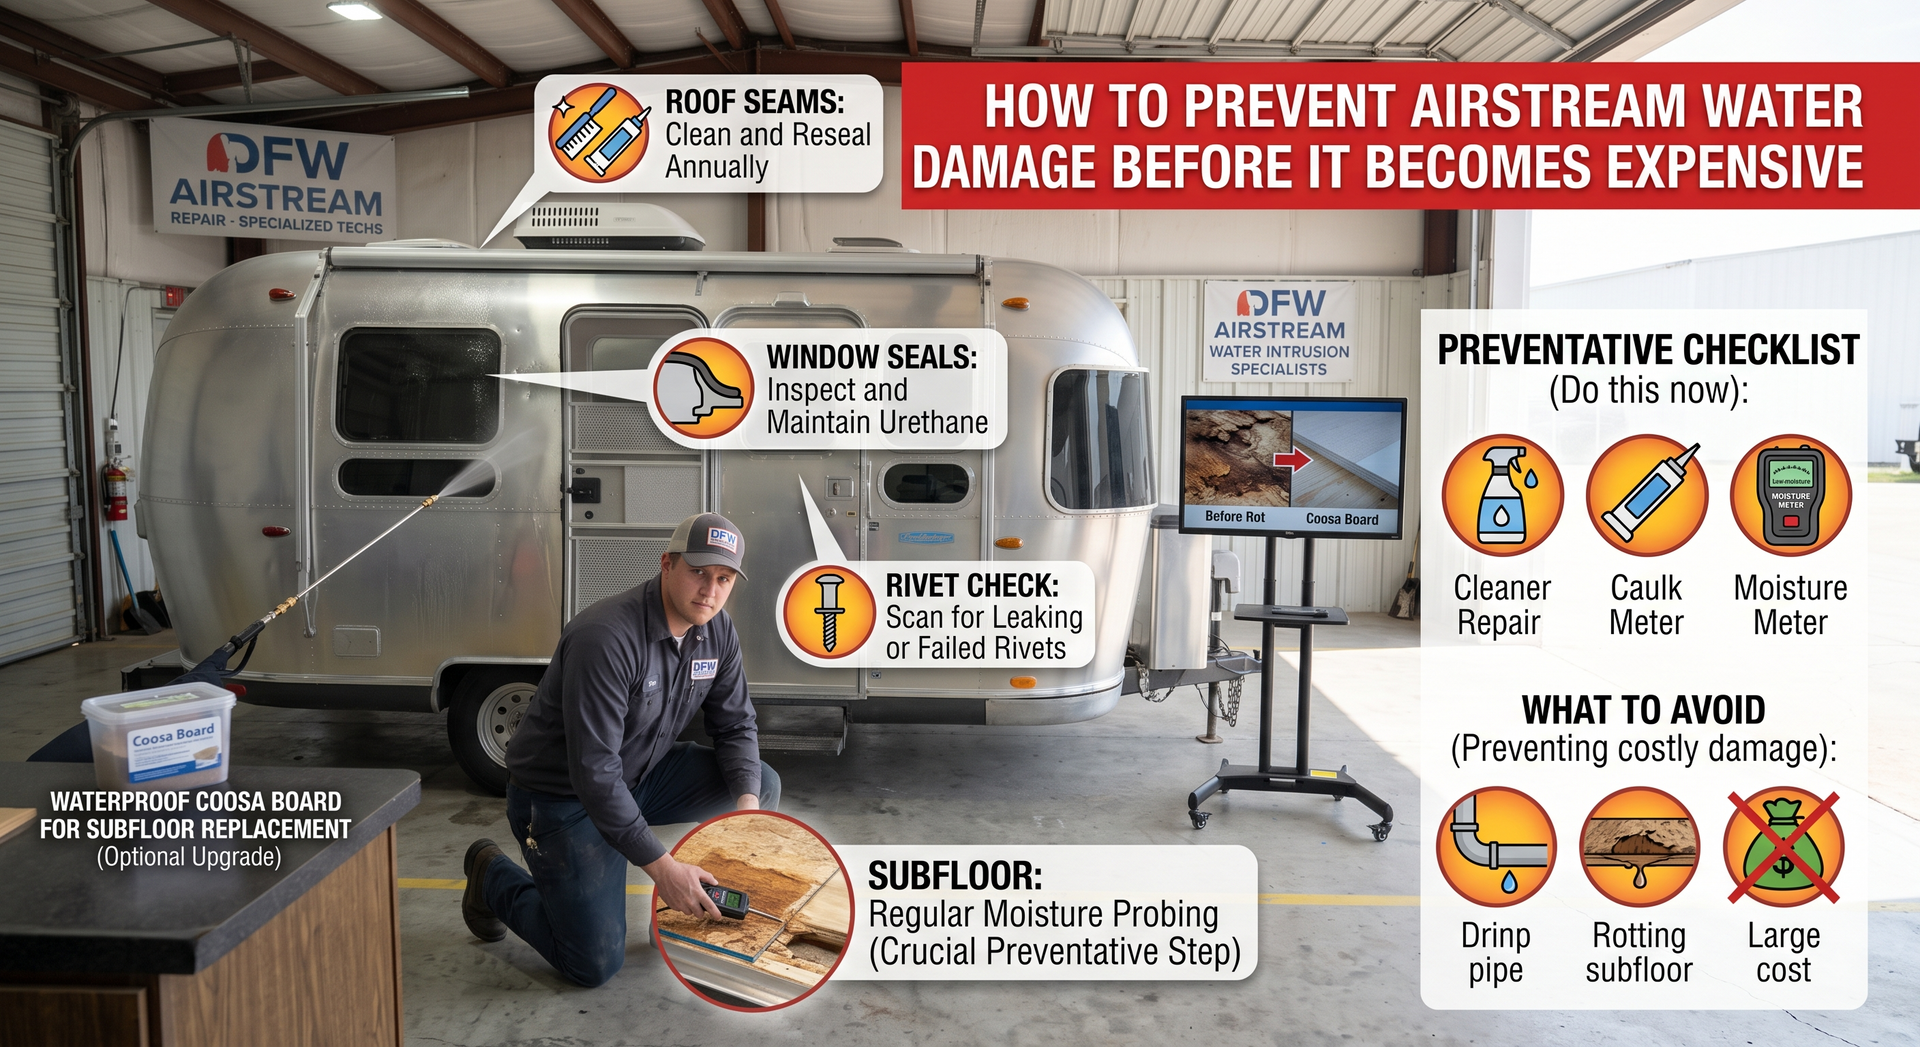
A small leak can eventually become a major Airstream repair if moisture has been trapped inside the structure.
3. Examine the Roof and Sealants
The roof should receive special attention during your inspection.
Look for cracked, dried-out, separated, or missing sealant around roof penetrations and components. Check areas around:
- Air conditioners
- Roof vents
- Skylights
- Antennas
- Solar panels
- Plumbing vents
Old or damaged sealant does not automatically mean the Airstream is a bad purchase, but it should be considered when estimating future maintenance costs.
4. Inspect the Floor for Soft Spots
Walk slowly through the entire trailer and pay attention to how the floor feels under your feet.
Soft, spongy, or uneven sections can indicate water damage or deterioration underneath the flooring.
Check especially around the:
- Bathroom
- Kitchen
- Entry door
- Windows
- Water heater
- Exterior storage areas
Floor problems can range from relatively simple repairs to significant structural work, depending on the cause and extent of the damage.
5. Check for Frame and Structural Problems
The frame is critical to the safety and stability of your Airstream.
Inspect underneath the trailer for signs of:
- Rust or corrosion
- Cracks
- Bending
- Welding repairs
- Impact damage
- Uneven components
If you notice anything suspicious, consider having a qualified RV technician inspect the chassis and structural components before you buy.
6. Inspect the Suspension and Axles
Airstream's suspension and axles affect ride quality, handling, tire wear, and overall safety.
Check for signs of excessive wear, unusual angles, damaged components, or problems with ride height.
An experienced technician can determine whether the axles and suspension are operating properly and whether replacement may be approaching.
7. Examine the Tires
Never overlook the tires simply because the tread looks good.
Check:
- Tire age
- Tread condition
- Sidewall cracks
- Uneven wear
- Bulges
- Damage
- Proper sizing and load rating
RV tires can age even when the trailer has been driven relatively few miles. If the tires are old, factor replacement into your purchase budget.
8. Test the Brakes and Wheel Bearings
The braking system is another critical safety component.
Check the condition and operation of the trailer brakes and inspect the wheels and bearings for signs of wear or overheating.
If you are not comfortable evaluating these components yourself, have a professional perform a pre-purchase inspection.
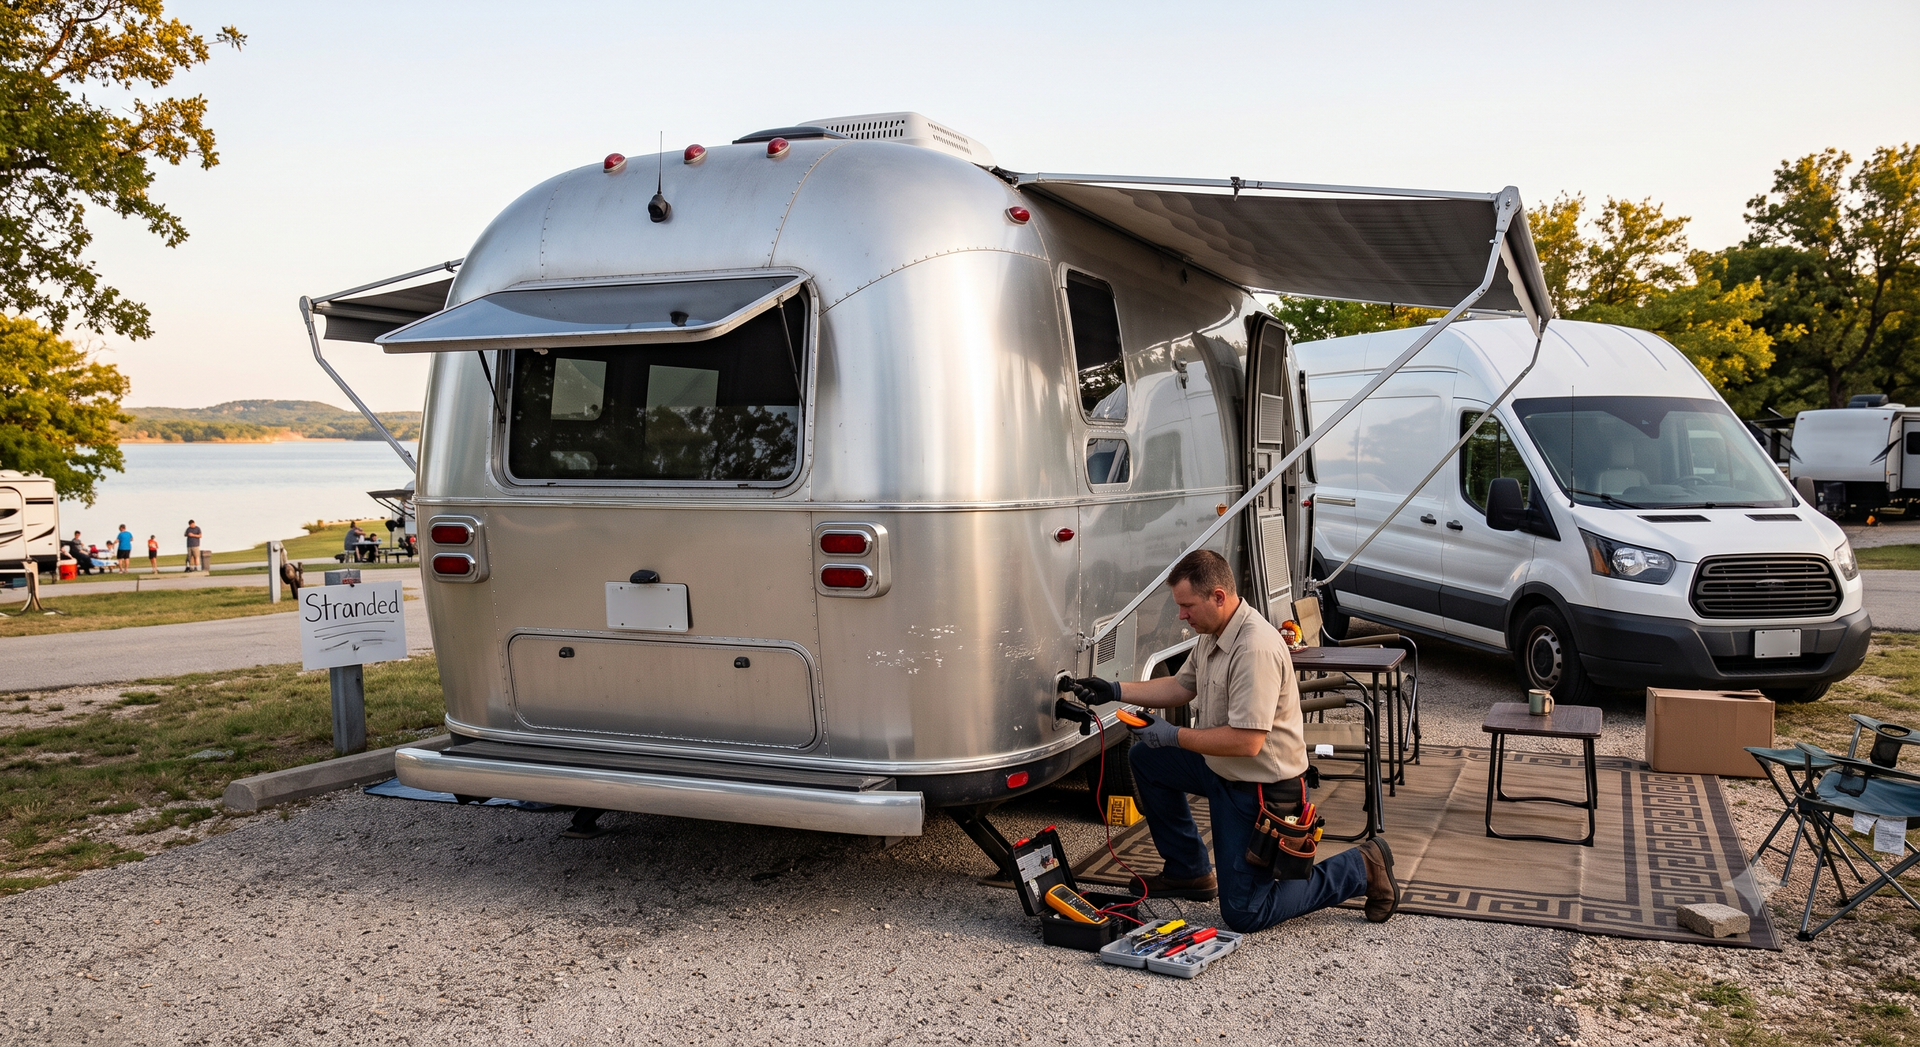
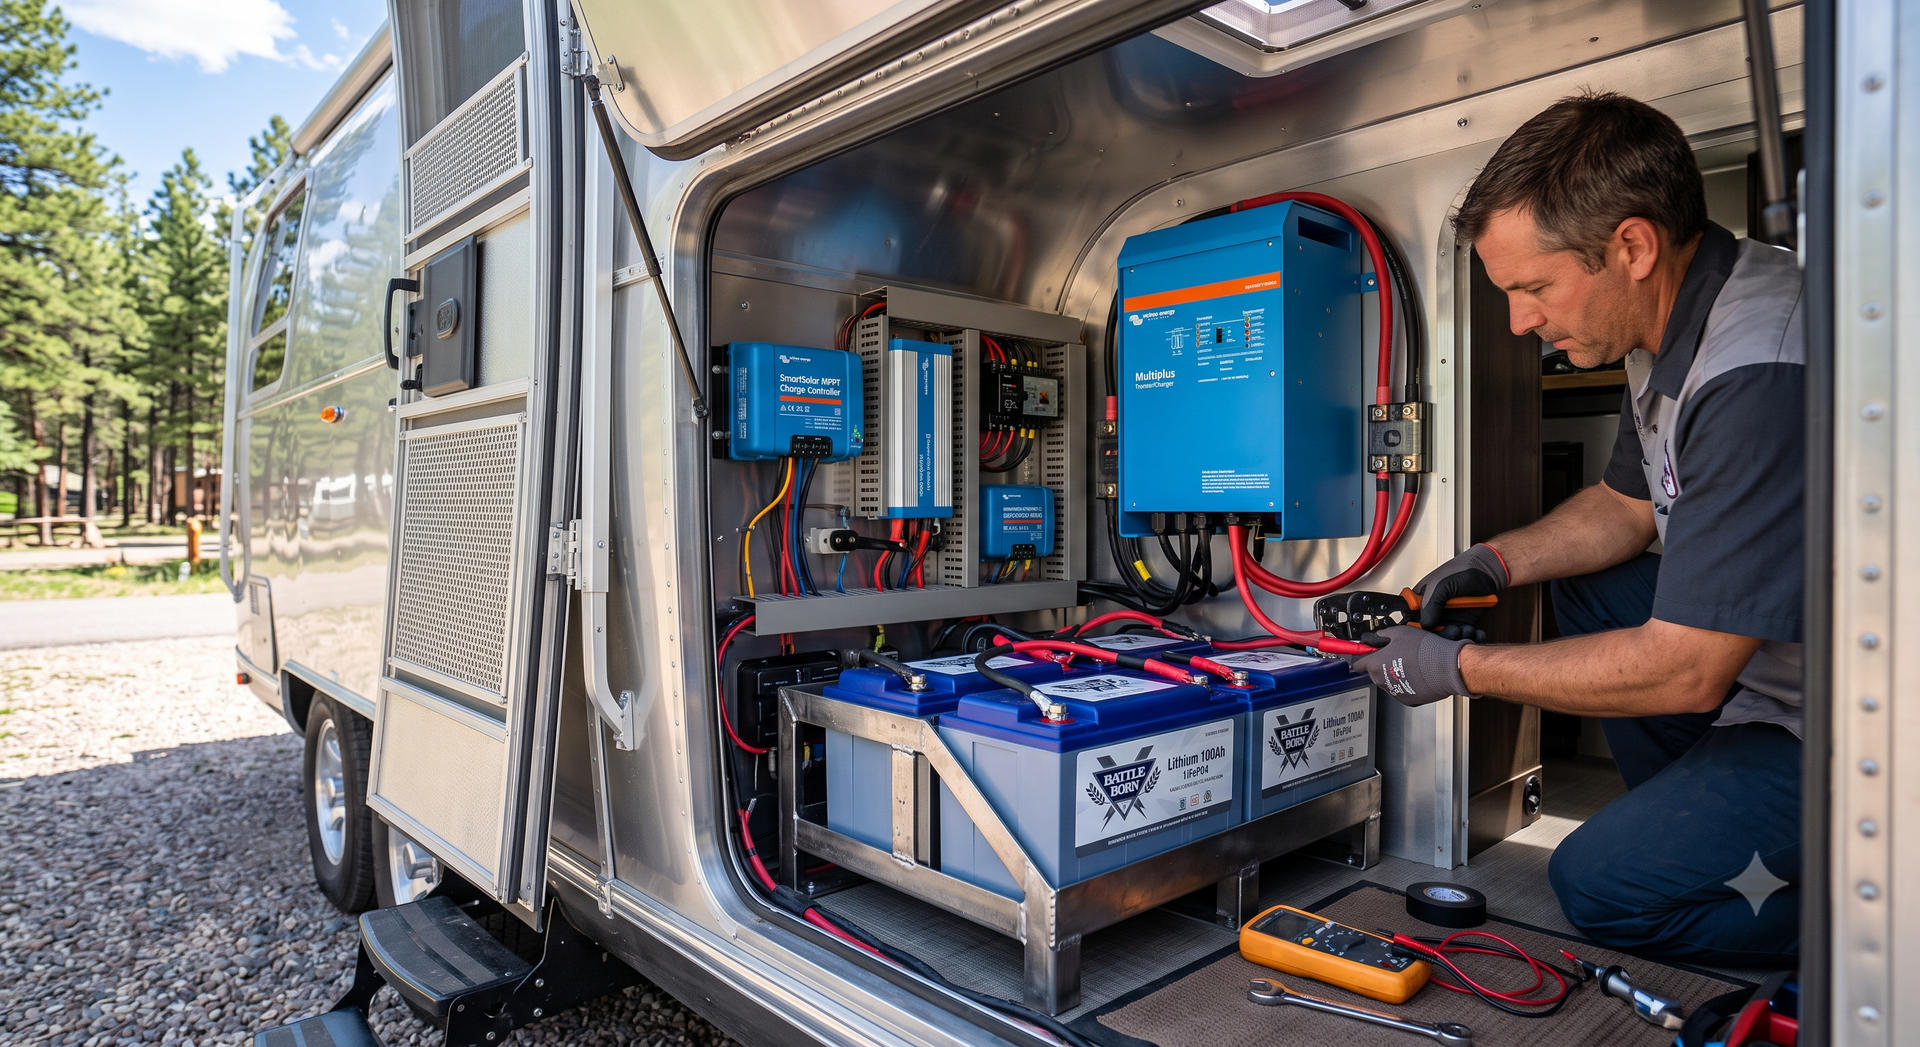
9. Test Every Electrical System
Turn on and test as many electrical components as possible.
Check:
- Interior lights
- Exterior lights
- Outlets
- Fans
- Air conditioning
- Refrigerator
- Microwave
- Water heater
- Battery system
- Converter
- Shore-power connection
Do not assume that an appliance works simply because the seller says it does. Test it.
Electrical repairs can become expensive when multiple components or wiring systems are involved.
10. Inspect the Plumbing System
Turn on the water system and check for leaks.
Inspect:
- Faucets
- Shower
- Toilet
- Water pump
- Water heater
- Freshwater tank
- Drain lines
- Exterior connections
Look inside cabinets and underneath sinks while the water is running.
A slow plumbing leak may not be immediately visible but can eventually cause significant interior water damage.
11. Test the Propane System
If the Airstream uses propane appliances, inspect the propane system carefully.
Check the tanks, regulators, connections, hoses, and appliances for visible signs of damage or deterioration.
Test propane-powered appliances such as the:
- Furnace
- Water heater
- Refrigerator
- Cooktop
Because propane systems involve safety risks, professional inspection is recommended if you notice anything questionable.
12. Test the Appliances
Used Airstreams often come with multiple appliances, and replacing them can be expensive.
Test each appliance individually, including:
- Refrigerator
- Oven
- Stove
- Microwave
- Furnace
- Air conditioner
- Water heater
- Fans
Ask how long each appliance has been in service and whether any repairs or replacements have been performed.
13. Inspect Windows, Doors, and Seals
Open and close every window, door, and storage compartment.
Look for:
- Cracked seals
- Damaged latches
- Broken hardware
- Gaps
- Moisture between panes
- Difficulty opening or closing
Damaged seals can allow water and air to enter the trailer, while faulty latches can create security and travel problems.
14. Check the Interior for Signs of Poor Maintenance
The interior can tell you a lot about how the Airstream was treated.
Look for:
- Damaged cabinetry
- Loose fixtures
- Stained upholstery
- Cracked flooring
- Broken hardware
- Ceiling stains
- Unusual odors
- Evidence of amateur repairs
A clean interior is encouraging, but cosmetic condition should never replace a mechanical and structural inspection.
15. Review Maintenance Records and Ownership History
Before purchasing, ask the seller for documentation.
Useful records include:
- Maintenance receipts
- Repair invoices
- Appliance replacements
- Tire replacements
- Axle or suspension work
- Water damage repairs
- Insurance claims
- Ownership history
A well-documented maintenance history can provide valuable insight into how the Airstream was maintained and what repairs may be coming next.
Bonus: Get a Professional Pre-Purchase Inspection
Even if you are experienced with RVs, a professional inspection can uncover problems that are easy to miss.
A qualified Airstream technician can evaluate areas such as the structure, plumbing, electrical systems, appliances, suspension, brakes, seals, and potential water intrusion.
Spending money on an inspection before buying can potentially save thousands of dollars in unexpected Airstream repair costs later.
What Should You Ask the Seller?
Before finalizing the purchase, ask:
- How long have you owned the Airstream?
- Why are you selling it?
- Has it ever had water damage?
- Has it been involved in an accident?
- When were the tires replaced?
- Have the axles or suspension been replaced?
- Which appliances have been repaired or replaced?
- Has the roof been resealed?
- Has the trailer been stored indoors or outdoors?
- Are maintenance records available?
Pay attention not only to the answers but also to whether the seller is willing to provide documentation.
Final Thoughts
Buying a used Airstream can be an excellent investment, but the wrong trailer can quickly turn into an expensive project.
Before you buy, inspect the exterior, roof, seals, flooring, frame, suspension, tires, brakes, electrical systems, plumbing, propane system, appliances, windows, interior, and maintenance history.
Most importantly, don't let a polished appearance distract you from potential hidden problems. A thorough used Airstream inspection and professional evaluation can help you understand what you're really buying and identify potential Airstream repair needs before you commit.