
How to Extend the Life of Your RV Black & Grey Tanks (And Avoid Costly Sensor Failures)
How to Extend the Life of Your RV Black & Grey Tanks (And Avoid Costly Sensor Failures)
Owning an RV gives you the freedom to travel wherever the road takes you. But behind every comfortable RV experience is a plumbing system that needs proper care. One of the most overlooked aspects of RV maintenance is taking care of the black and grey water holding tanks.
Your RV's black and grey tanks handle wastewater every day. Without regular cleaning and maintenance, waste buildup, unpleasant odors, clogged pipes, and faulty tank sensors can become expensive problems.
The good news? With a few simple maintenance habits, you can extend the life of your RV holding tanks, keep your plumbing system functioning properly, and avoid unnecessary repair costs.
In this guide, we'll explore practical RV black and grey tank maintenance tips, common causes of sensor failures, and ways to keep your RV wastewater system in excellent condition.
Understanding Your RV Black and Grey Water Tanks
Before discussing maintenance, it's important to understand the difference between the two tanks.
1. RV Black Water Tank
The black water tank collects wastewater from your RV toilet, including human waste and toilet paper. It requires regular emptying, flushing, and cleaning to prevent solid waste buildup, blockages, and unpleasant odors.
2. RV Grey Water Tank
The grey water tank collects wastewater from sinks, showers, and other designated drains. It may contain soap, shampoo, toothpaste, food particles, grease, and other household residues.
Although grey water is less contaminated than black water, it can still create unpleasant odors, grease buildup, and drainage problems if neglected.
Both tanks require proper maintenance to protect your RV plumbing system and ensure a comfortable travel experience.
7 Essential Tips to Extend the Life of Your RV Black & Grey Tanks
1. Empty Your Tanks at the Right Time
One of the most important RV black tank maintenance tips is knowing when to empty your holding tanks.
Avoid dumping your black tank when it is nearly empty. Having sufficient water inside helps carry solid waste through the discharge system and reduces the risk of waste accumulation.
Best practices:
- Empty your black tank when it is approximately 2/3 to 3/4 full, or according to your RV manufacturer's recommendations.
- Avoid leaving the black tank valve open during extended campground hookups.
- Empty the black tank before the grey tank so grey water can help rinse the sewer hose.
- Empty grey tanks regularly to prevent overflow and drainage issues.
Following the correct dumping routine helps prevent blockages and keeps your RV wastewater system working efficiently.
2. Use Enough Water When Flushing
Insufficient water is one of the common causes of black tank problems.
When you use too little water while flushing, solid waste and toilet paper may accumulate inside the tank instead of moving freely toward the outlet.
What should you do?
- Use sufficient water with every toilet flush.
- Add fresh water to the black tank after emptying.
- Follow your RV manufacturer's recommendations for water usage.
- Avoid allowing waste to dry and accumulate inside the tank.
Proper water usage helps reduce solid waste buildup, minimize odors, and prevent costly plumbing issues.
3. Clean Your Black and Grey Tanks Regularly
Regular tank cleaning is essential for long-term RV plumbing maintenance.
Black tanks can accumulate waste residue and toilet paper, while grey tanks can collect grease, soap scum, and food particles.
If these deposits are not removed, they may contribute to unpleasant odors, restricted drainage, and inaccurate tank sensor readings.
Black tank cleaning tips:
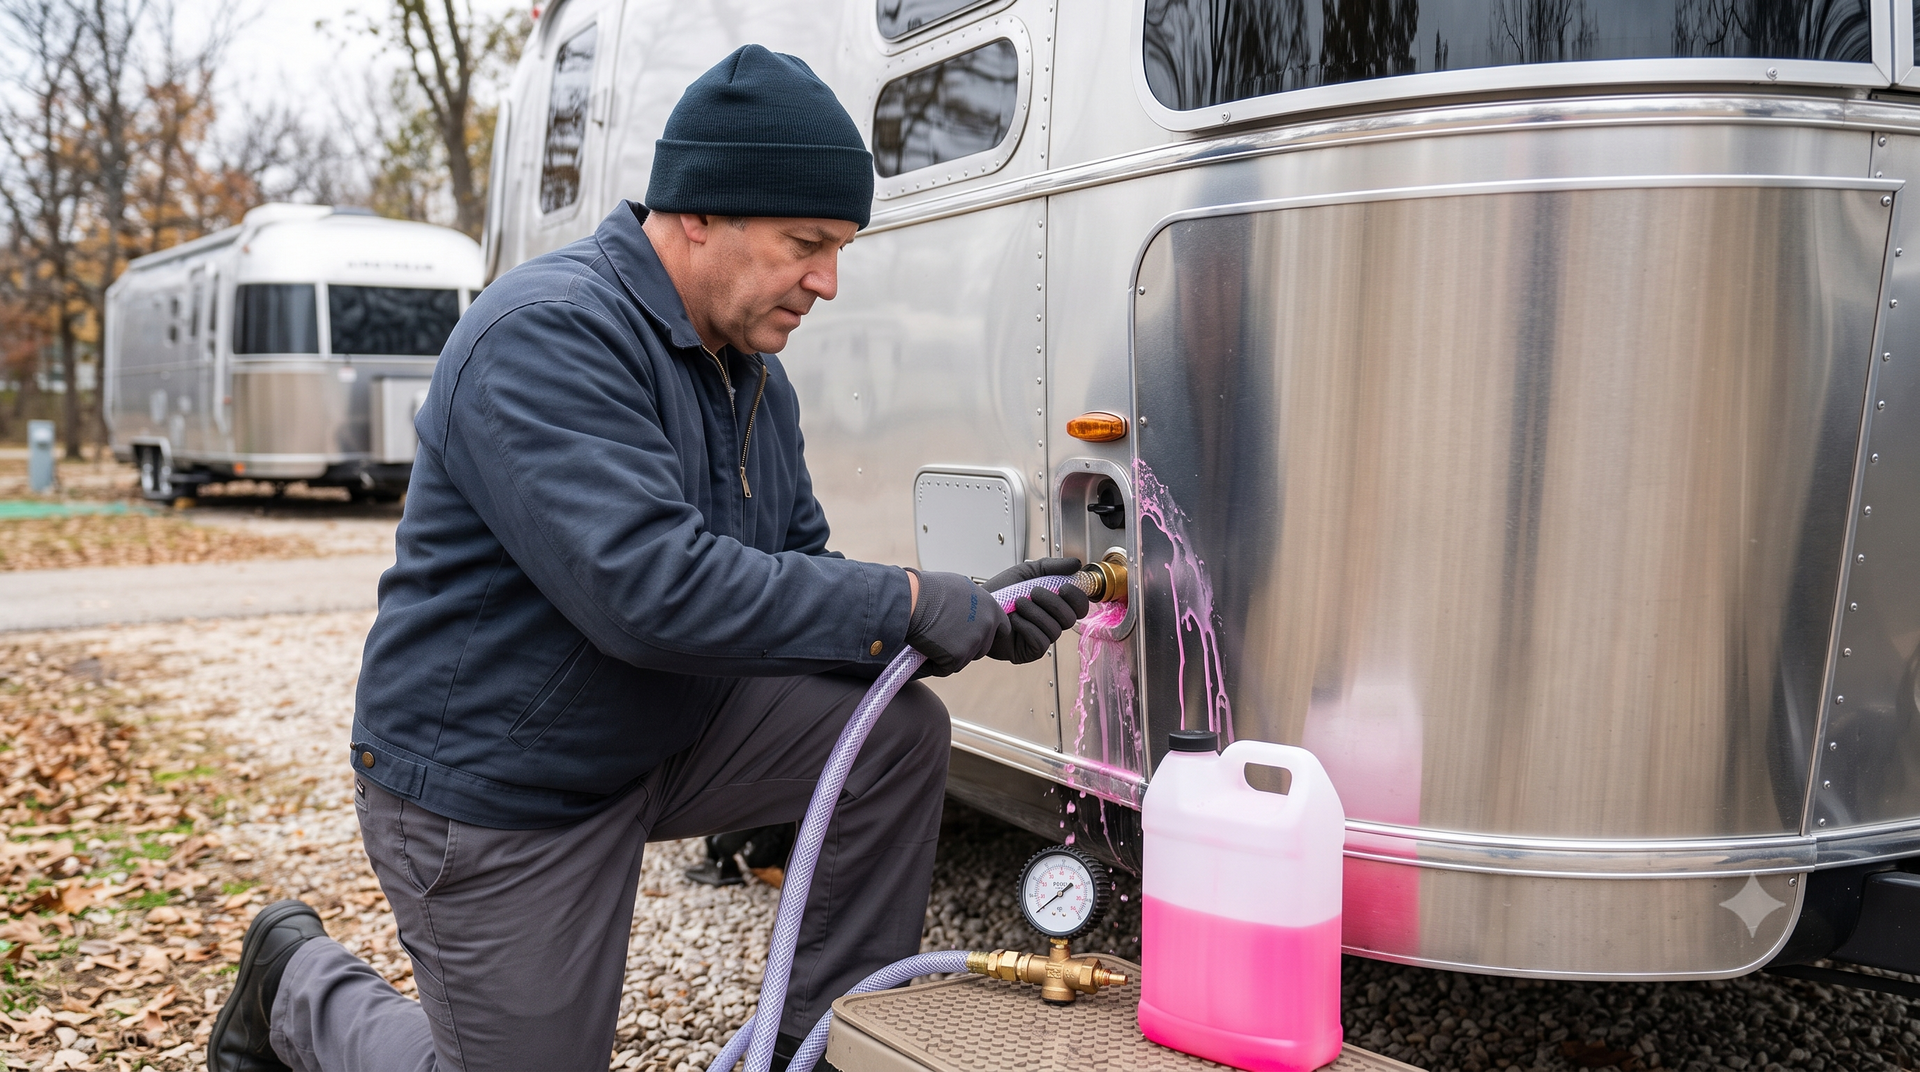
- Use an RV-approved black tank cleaning solution.
- Flush the tank using a built-in tank rinsing system, if available.
- Follow the recommended cleaning procedure for your RV model.
- Perform periodic deep cleaning to remove stubborn residue.
Grey tank cleaning tips:
- Use a suitable grey water tank cleaner.
- Avoid pouring cooking grease, oils, and food waste into the kitchen sink.
- Clean sink and shower drain strainers regularly.
- Flush the tank using an approved cleaning method.
Never use harsh chemicals or household drain cleaners unless your RV manufacturer specifically approves them. They may damage seals, valves, and plumbing components.
4. Prevent RV Tank Sensor Failures
One of the most frustrating RV plumbing problems is a faulty tank level sensor.
Have you ever emptied your RV black tank only to find that the monitor panel still shows 2/3 full or completely full?
In many cases, the sensor itself isn't damaged. The problem may be residue or buildup covering the sensor probes.
Common causes of RV tank sensor problems include:
- Toilet paper and waste residue sticking to black tank sensors.
- Soap scum and grease accumulating on grey tank sensors.
- Mineral deposits from hard water.
- Improper tank cleaning.
- Electrical wiring or sensor connection problems.
How to prevent sensor failures:
- Flush your holding tanks regularly.
- Use compatible RV tank cleaning products.
- Avoid allowing waste residue to accumulate.
- Check tank sensor readings periodically.
- Clean the sensors according to the manufacturer's instructions.
If your tank monitor continues showing inaccurate readings after cleaning, have the sensor, wiring, and monitoring system inspected by a qualified RV technician.
5. Use the Right RV Tank Treatment Products
Choosing the right tank treatment can make a significant difference in maintaining your RV wastewater system.
RV black and grey tank treatments are designed for different purposes, including odor control and managing certain types of organic buildup.
Consider the following when selecting a treatment:
- Choose products specifically designed for RV holding tanks.
- Use treatments compatible with your tank materials, seals, and plumbing.
- Follow the recommended dosage and application instructions.
- Avoid mixing different cleaning chemicals.
- Select suitable products for black and grey water tanks.
Remember that tank treatments cannot replace regular dumping, rinsing, and deep cleaning. They should be part of a complete maintenance routine.
6. Avoid Flushing the Wrong Materials
Not everything that goes down your RV toilet or sink should end up in your holding tanks.
Flushing unsuitable materials can cause blockages, interfere with waste breakdown, and contribute to sensor problems.
Never flush these items into your RV black tank:
- Baby wipes and cleaning wipes.
- Paper towels and tissues.
- Feminine hygiene products.
- Cotton balls and other non-flushable materials.
- Household cleaning products.
Avoid putting these items into your grey tank:
- Cooking oil and grease.
- Large food particles.
- Excessive soap and chemical residues.
- Coffee grounds.
- Other materials that may cause drainage blockages.
A little prevention can save you from expensive RV plumbing repairs later.
7. Inspect Your RV Tank System Periodically
Regular inspections help identify small issues before they become major problems.
Make it a habit to inspect your RV holding tank system, valves, hoses, and accessible plumbing connections.
Here are some important things to look for:
- Wastewater leaks around tank connections.
- Cracks or visible damage to accessible tank surfaces.
- Loose or damaged drain connections.
- Unusual odors around the plumbing system.
- Slow drainage or recurring blockages.
- Inconsistent tank level readings.
If you notice persistent problems, arrange a professional RV plumbing inspection rather than waiting for the issue to become more serious.
Common RV Tank Sensor Problems and How to Identify Them
RV tank sensors play an important role in monitoring wastewater levels. When they stop working correctly, you may not know when your tanks need emptying.
Here are some common problems RV owners experience:
Black tank always shows full: Waste or toilet paper buildup may be covering the sensor probes, causing inaccurate readings.
Grey tank displays incorrect levels: Grease, soap scum, and other residue may accumulate on the sensors and interfere with their readings.
Sensor reading does not change: Dirty probes, damaged wiring, or a faulty sensor may prevent the monitor from displaying accurate information.
Tank shows partially full after emptying: Residue or mineral deposits may remain inside the tank and affect sensor performance.
Monitor panel displays inconsistent readings: Loose electrical connections, damaged sensors, or monitoring system issues may be responsible.
Before replacing a faulty sensor, consider whether the tank needs a thorough cleaning. However, if the readings remain inaccurate, professional diagnosis may be necessary.
How Often Should You Clean Your RV Black and Grey Tanks?
The ideal cleaning frequency depends on how often you use your RV, tank capacity, number of occupants, and manufacturer's recommendations.
To maintain your RV holding tanks, follow these general maintenance practices:
- Before and during every trip: Check your black and grey tank levels to avoid unexpected overflow.
- When the black tank is approximately 2/3 to 3/4 full: Empty it to ensure proper waste disposal.
- Before the grey tank reaches capacity: Empty it to prevent overflow and drainage problems.
- After every black tank dump: Rinse the tank using a built-in flushing system, if available.
- Periodically: Clean the grey tank, especially when you notice unpleasant odors or residue buildup.
- During regular maintenance: Inspect tank valves, drain connections, and accessible plumbing components.
- Whenever necessary: Perform a deeper tank cleaning based on usage and the manufacturer's recommendations.
Following a consistent maintenance routine helps keep your wastewater system clean, reduces unpleasant odors, and minimizes the risk of unexpected plumbing failures.
When Should You Call a Professional RV Repair Technician?
Not every RV tank problem can be solved with routine cleaning.
Sometimes, the issue may involve damaged valves, clogged discharge pipes, faulty sensors, electrical problems, or even cracks in the holding tank.
Consider professional RV repair services if you experience:
- Persistent inaccurate tank level readings.
- Repeated black tank blockages.
- Wastewater leaks or damaged tank connections.
- Strong sewage odors that do not disappear after cleaning.
- Damaged or malfunctioning tank valves.
- Sensor failures that continue after proper cleaning.
Getting professional help at the right time can prevent additional damage and help you avoid expensive repairs.
Final Thoughts: Protect Your RV Tanks and Enjoy Worry-Free Travel
Your RV black and grey water tanks are essential components of your RV's plumbing system. Neglecting them can lead to unpleasant odors, waste buildup, clogged drainage systems, and expensive sensor failures.
The key to extending the life of your RV holding tanks is simple: use enough water, empty your tanks correctly, clean them regularly, choose compatible tank treatments, and inspect your plumbing system periodically.
Most importantly, don't ignore unusual sensor readings or drainage problems. Early maintenance and timely professional repairs can save you money and keep your RV ready for the next adventure.
Need professional help with your RV plumbing or holding tank system? Contact an experienced RV repair technician to inspect, diagnose, and maintain your system before minor issues turn into costly repairs.