
Airstream Pre-Purchase Inspection: What Should You Check Before Buying?
Airstream Pre-Purchase Inspection: What Should You Check Before Buying?
Buying an Airstream is a significant investment, especially when you're considering a used model. While a trailer may look clean and well-maintained on the surface, hidden problems can turn an exciting purchase into an expensive Airstream repair project.
A thorough Airstream pre-purchase inspection helps you identify water damage, structural issues, worn suspension components, electrical problems, appliance failures, and other concerns before you commit to the purchase.
Whether you're buying your first Airstream or adding another trailer to your collection, here are the most important areas to inspect.
Why Is an Airstream Pre-Purchase Inspection Important?
A used Airstream can have years of maintenance history, repairs, modifications, and exposure to weather and road conditions.
Some problems are easy to spot, while others can remain hidden behind walls, cabinets, flooring, or exterior panels.
A professional inspection can help you:
- Identify hidden damage
- Estimate upcoming maintenance costs
- Detect water intrusion
- Check safety-critical systems
- Verify the condition of major components
- Negotiate a more informed purchase price
- Avoid unexpected repair expenses
Spending money on an inspection before buying can be far less expensive than discovering major problems after the sale.
1. Inspect the Aluminum Exterior
Begin with a complete walk-around of the Airstream.
Look for dents, scratches, corrosion, loose panels, damaged seams, and signs of previous repairs. Pay close attention to areas that may have experienced impact damage.
Check:
- Front and rear panels
- Corners
- Wheel wells
- Lower body panels
- Exterior storage compartments
- Door and window frames
- Seams and joints
Differences in panel alignment or unusual repair marks may indicate previous accident damage.
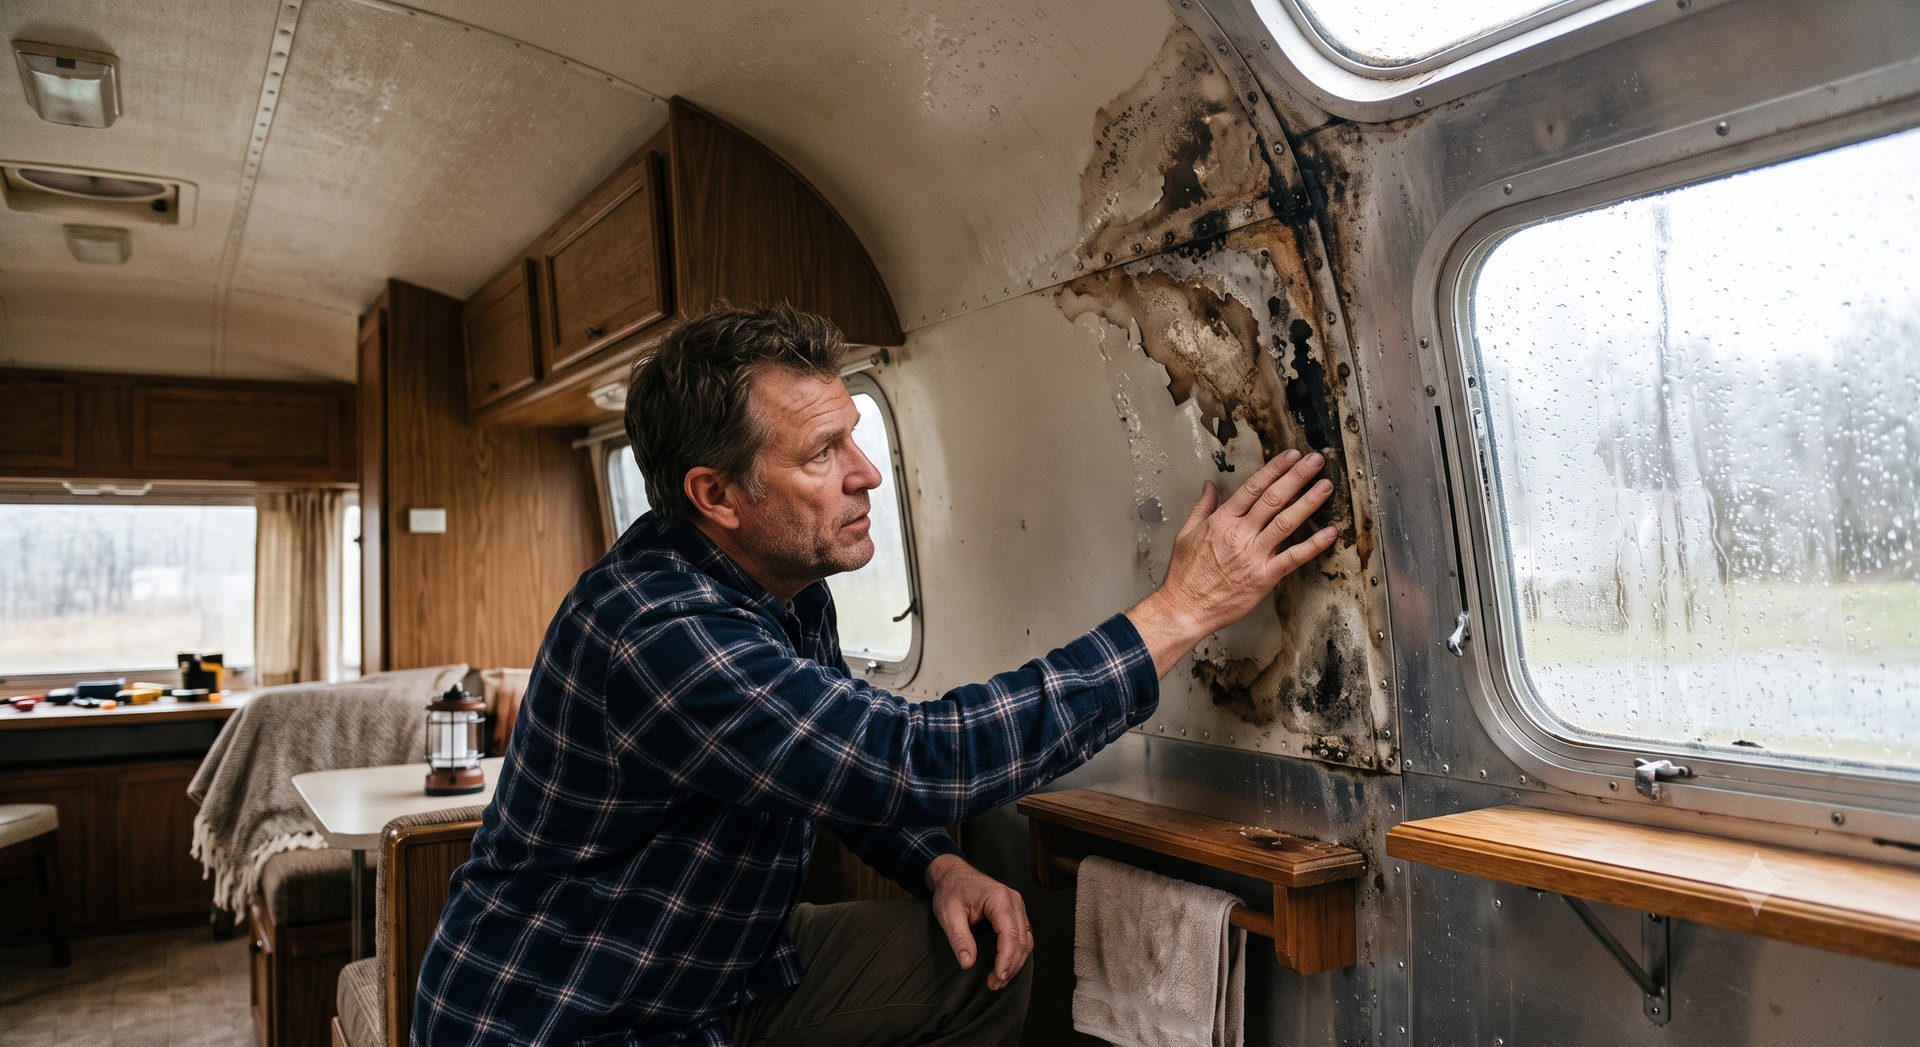
2. Look for Signs of Water Damage
Water intrusion should be one of your highest inspection priorities.
Check the interior for:
- Ceiling stains
- Discolored walls
- Soft flooring
- Musty odors
- Mold or mildew
- Bubbling surfaces
- Swollen cabinetry
- Damp insulation
Inspect around windows, doors, roof vents, skylights, air conditioners, plumbing fixtures, and exterior penetrations.
A small leak that appears harmless can eventually cause extensive structural and interior damage.
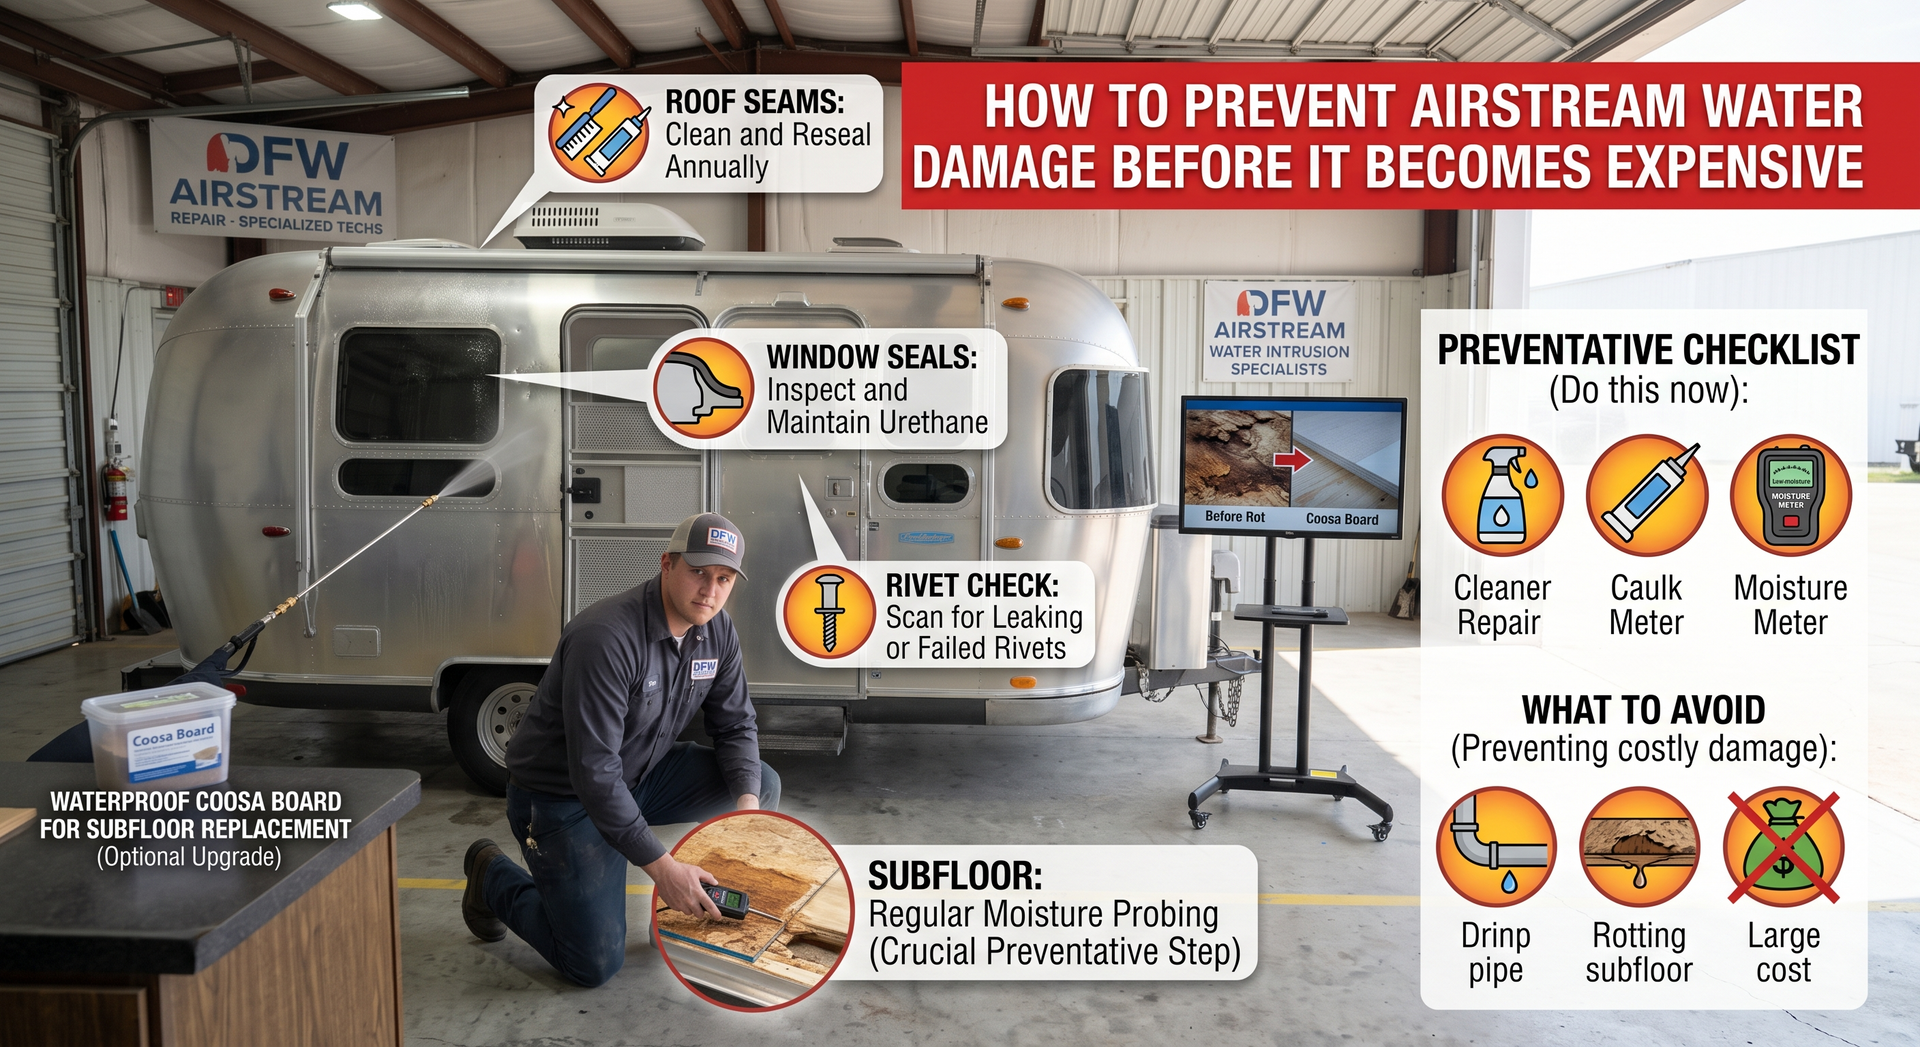
3. Examine the Roof and Sealants
Airstream roof components and sealants are exposed to weather, temperature changes, UV radiation, and road vibration.
Inspect the sealant around:
- Roof vents
- Air conditioners
- Skylights
- Antennas
- Plumbing vents
- Solar equipment
- Other roof penetrations
Look for cracked, brittle, separated, or missing sealant.
If the sealant is deteriorating, factor maintenance or resealing into your ownership budget.
4. Test the Flooring
Walk across the entire floor slowly.
The flooring should feel solid and consistent. Soft or spongy areas can indicate water damage or deterioration underneath.
Pay particular attention to:
- Bathroom floors
- Kitchen areas
- Entryways
- Areas around windows
- Areas near plumbing
- Exterior storage compartments
Don't assume a soft spot is merely a flooring issue. It could indicate a larger moisture problem underneath.
5. Inspect the Frame and Chassis
The frame supports the trailer and plays an important role in safe towing.
Look underneath the Airstream for:
- Cracks
- Bends
- Corrosion
- Damaged welds
- Signs of impact
- Previous structural repairs
If you see anything unusual, have a qualified technician perform a more detailed structural inspection.
6. Check the Axles and Suspension
The axles and suspension affect handling, ride quality, tire wear, and towing safety.
Look for signs of:
- Excessive wear
- Abnormal ride height
- Damaged components
- Uneven positioning
- Deterioration
Because suspension and axle condition can be difficult for an inexperienced buyer to evaluate, professional inspection is recommended.
7. Inspect the Tires
Don't judge tires by tread depth alone.
Check the:
- Tire age
- Sidewalls
- Tread
- Cracks
- Bulges
- Uneven wear
- Load rating
- Overall condition
A trailer can have plenty of tread but still need replacement because of age or deterioration.
8. Test the Brakes
Trailer brakes are essential for safe towing.
Test the braking system and look for signs of wear or damage. If possible, have the brake assemblies and related components professionally inspected.
Also check the wheels and bearings for signs of excessive heat, wear, or other problems.
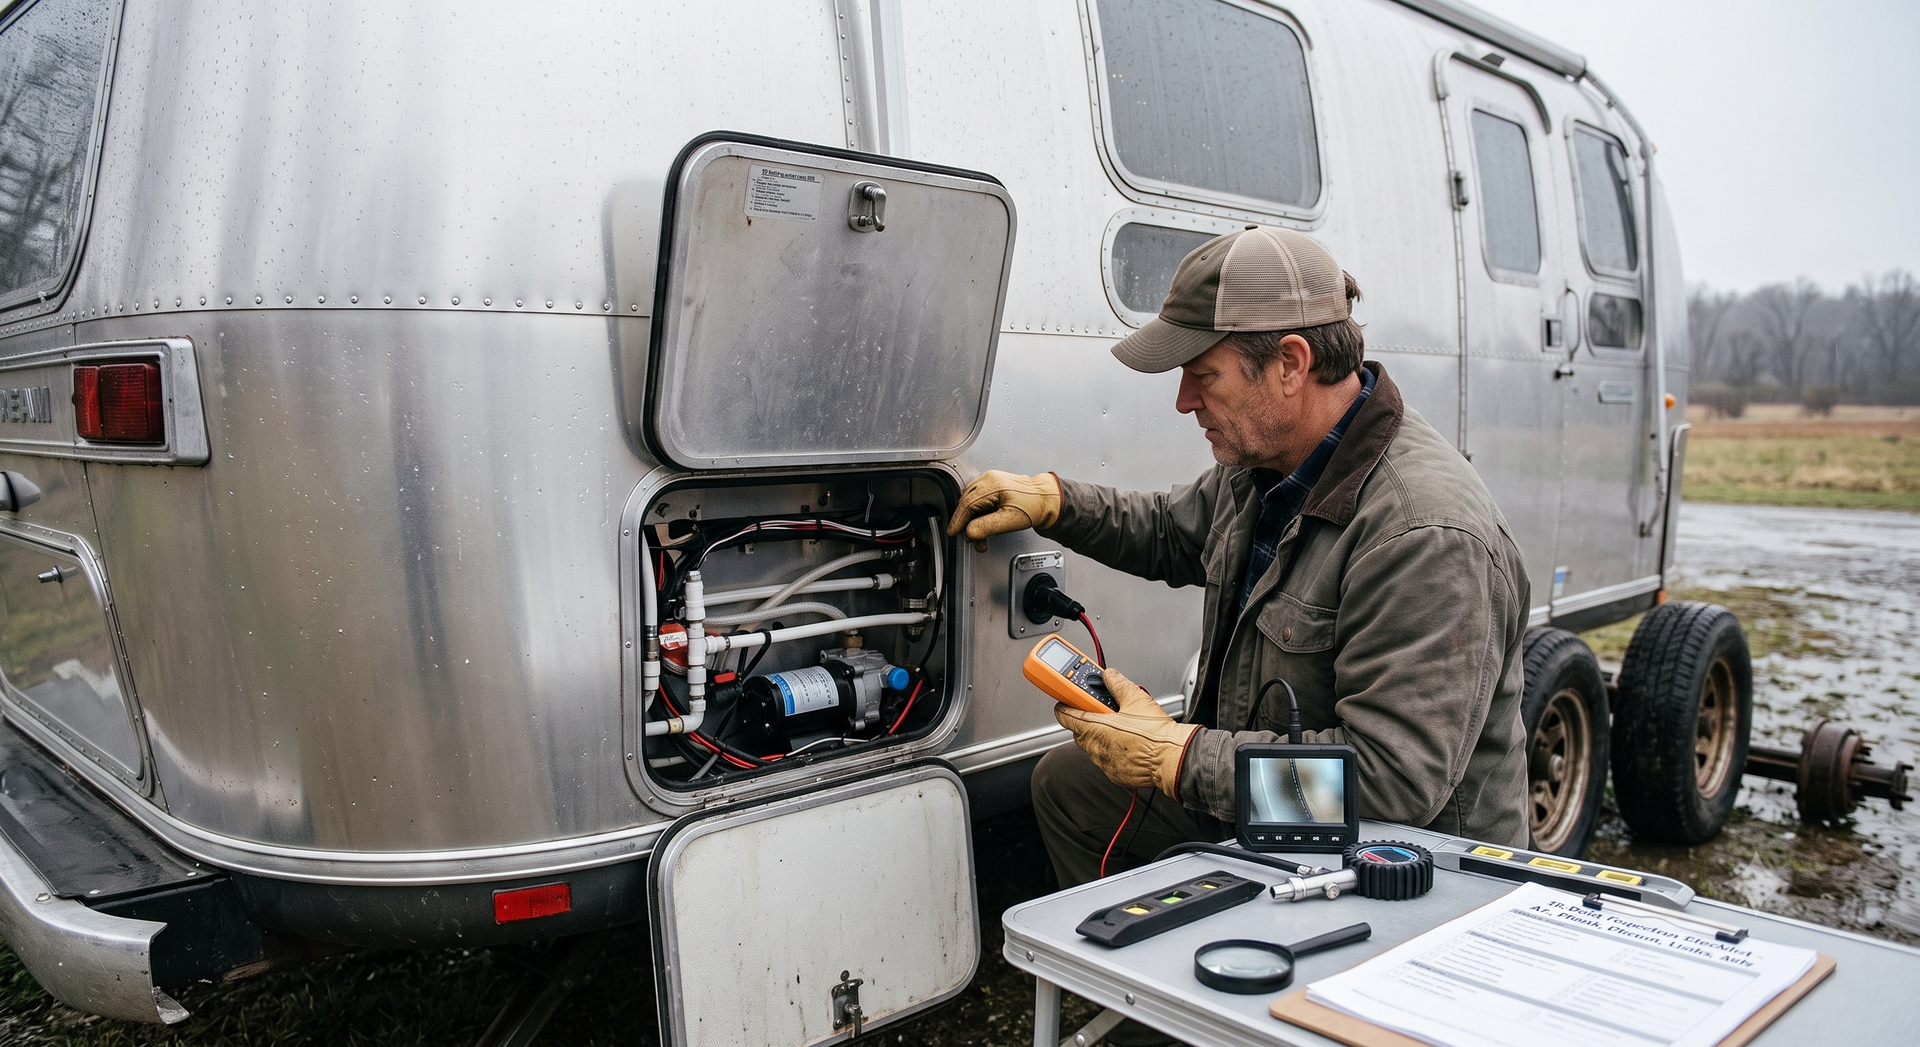
9. Test the Electrical System
Test the electrical systems rather than simply asking the seller whether they work.
Check:
- Interior lights
- Exterior lights
- Electrical outlets
- Fans
- Air conditioning
- Refrigerator
- Microwave
- Converter
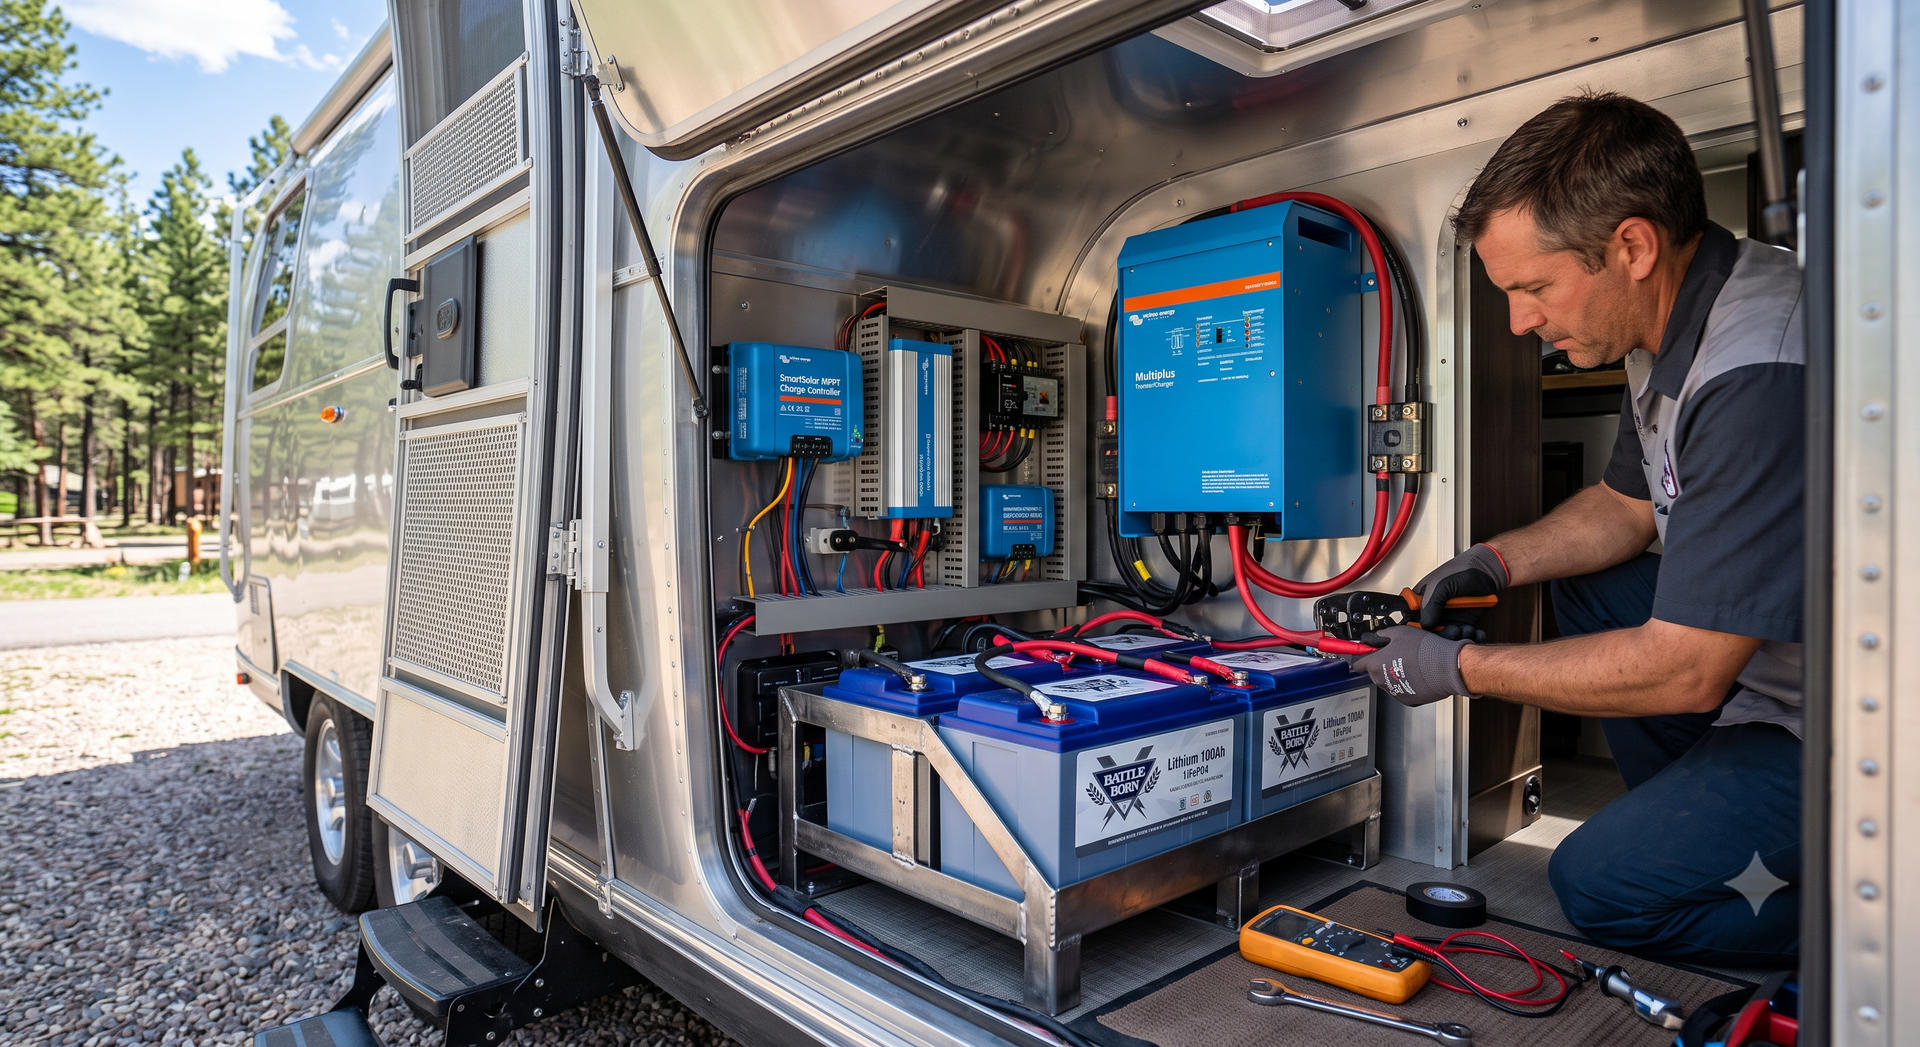
- Battery system
- Shore power
If an electrical component does not work, determine whether it is a minor issue or part of a larger electrical problem.
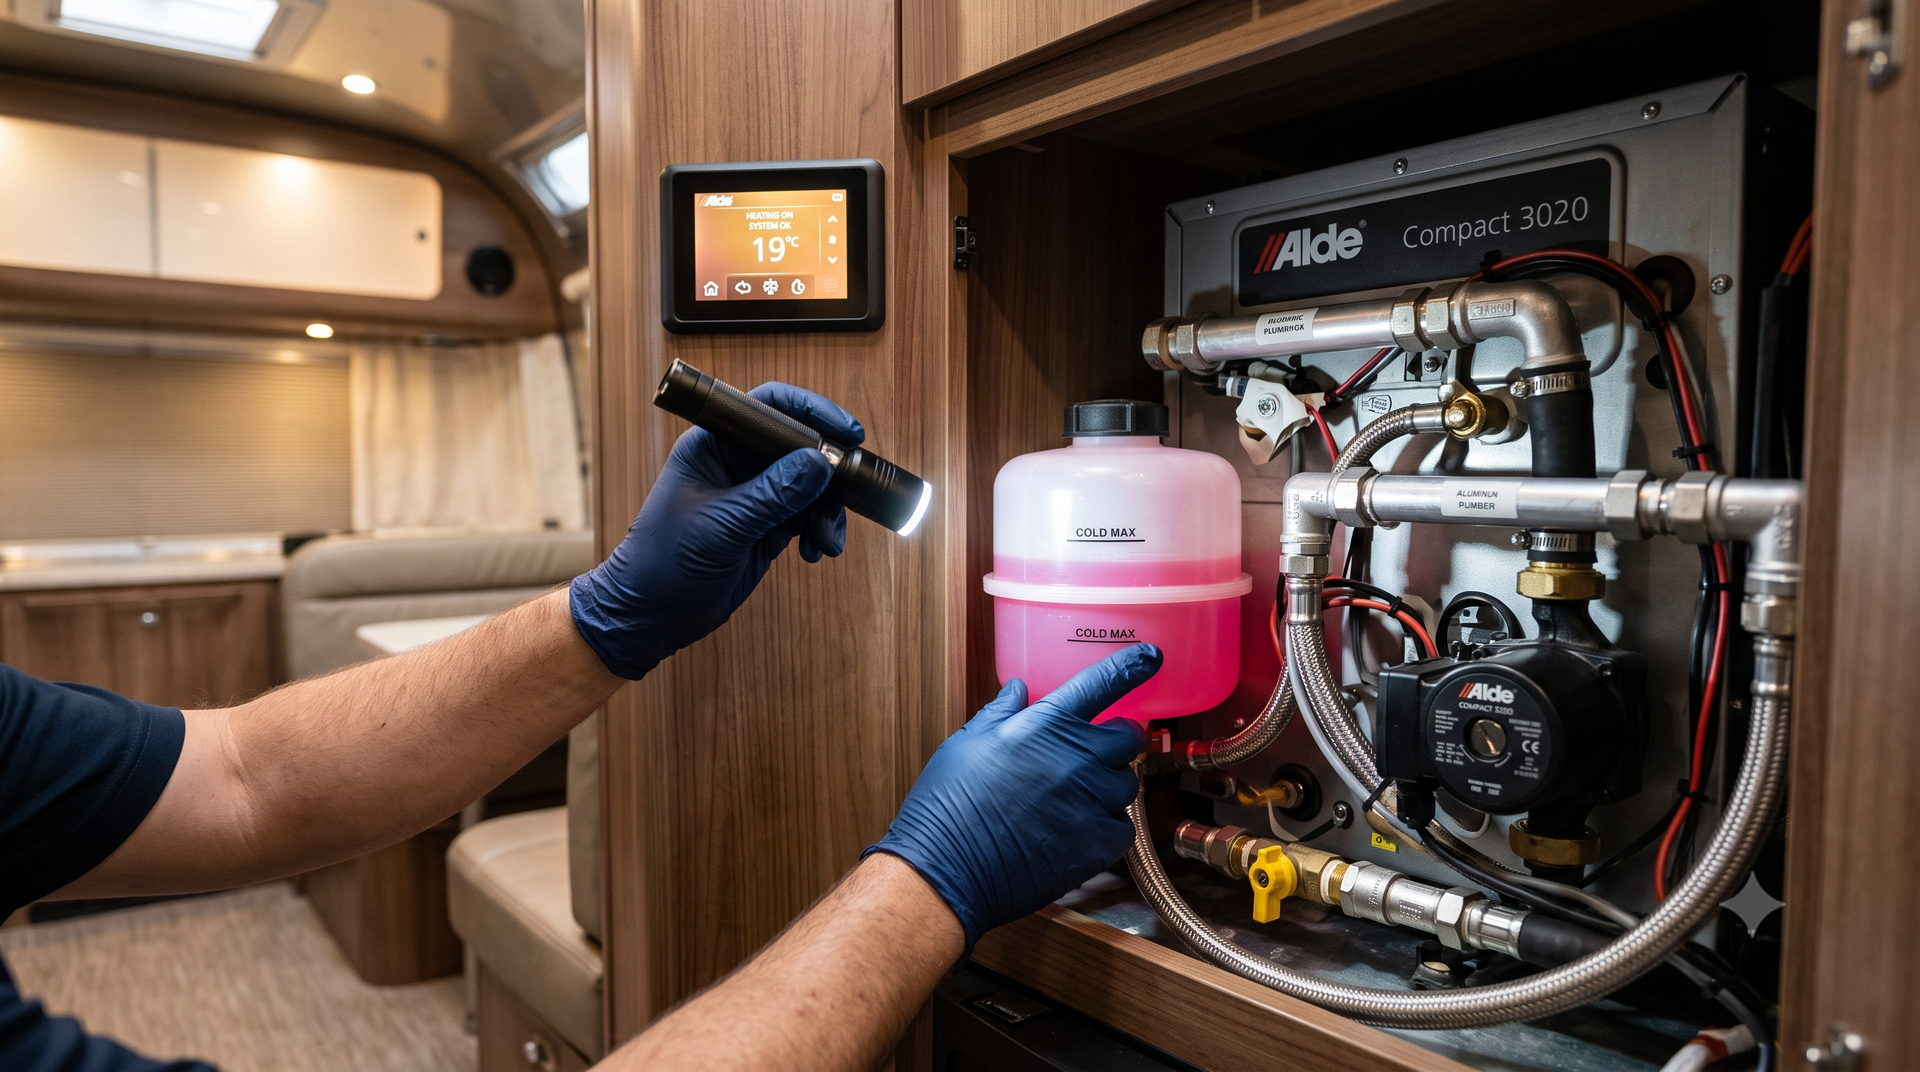
10. Inspect the Plumbing
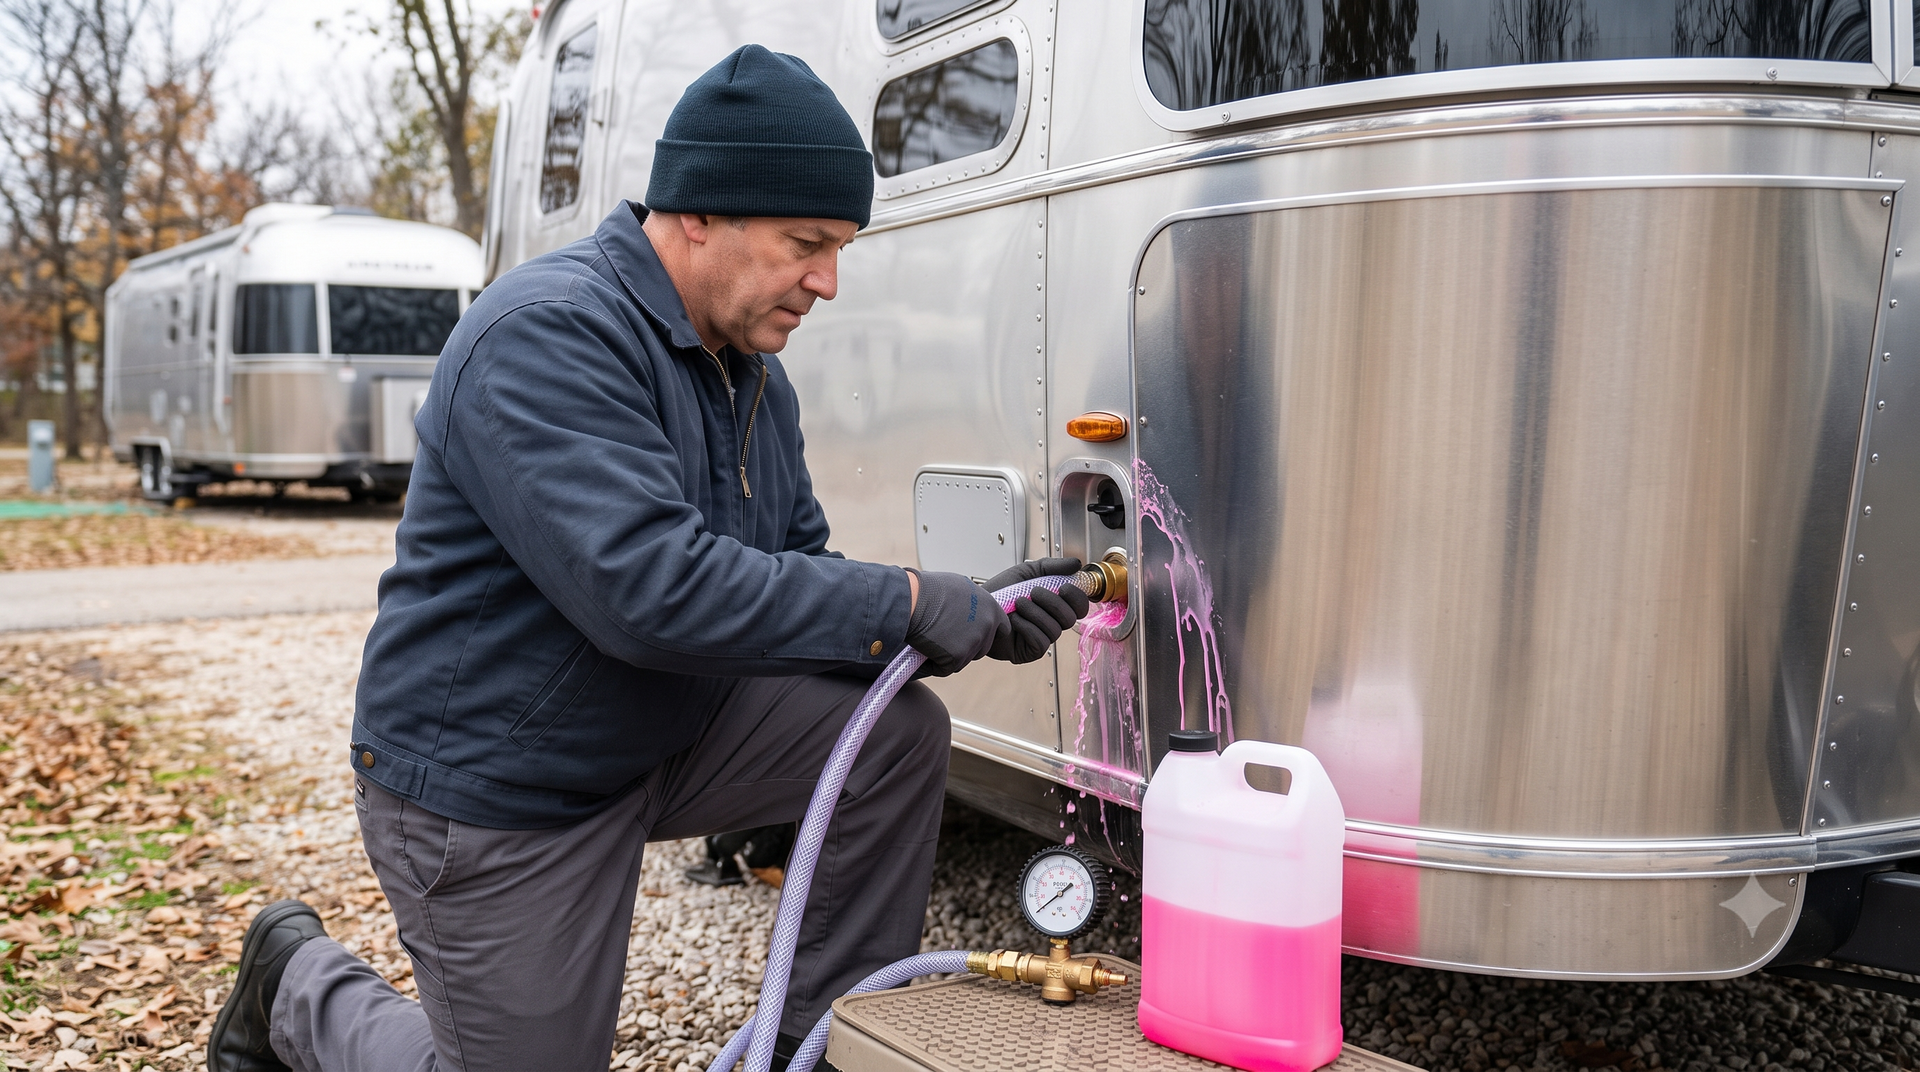
Turn on the water system and test the plumbing throughout the trailer.
Check:
- Faucets
- Shower
- Toilet
- Water pump
- Water heater
- Freshwater tank
- Drain system
- Plumbing connections
Look underneath sinks and inside cabinets while the system is operating.
Even a small plumbing leak can create significant water damage if it goes unnoticed.
11. Check the Propane System
If the Airstream uses propane, inspect the tanks, connections, regulators, hoses, and appliances.
Test propane-powered equipment such as:
- Furnace
- Water heater
- Refrigerator
- Cooktop
Because propane systems involve safety considerations, have questionable components evaluated by a qualified professional.
12. Test Every Major Appliance
Replacing RV appliances can be expensive, so test them before buying.
Depending on the Airstream, inspect:
- Refrigerator
- Oven
- Stove
- Microwave
- Furnace
- Air conditioner
- Water heater
- Vent fans
Ask whether any appliances have been repaired or replaced and request documentation where available.
13. Inspect Windows, Doors, and Seals
Open and close every window and door.
Look for:
- Cracked seals
- Damaged latches
- Loose hardware
- Gaps
- Difficult operation
- Moisture
- Damaged frames
Faulty seals can allow water intrusion, while damaged latches and hardware can create problems during travel.
14. Examine the Interior Carefully
Don't let attractive décor distract you from potential problems.
Inspect:
- Cabinets
- Flooring
- Walls
- Ceiling
- Upholstery
- Fixtures
- Storage compartments
- Bathroom surfaces
- Kitchen areas
Look for evidence of amateur repairs, unusual odors, stains, warped materials, and mismatched replacement components.
15. Review the Airstream's History
Ask the seller for as much documentation as possible.
Useful records include:
- Maintenance receipts
- Repair invoices
- Tire replacement records
- Axle or suspension work
- Appliance repairs
- Water damage repairs
- Insurance claims
- Previous inspection reports
- Ownership history
A detailed maintenance history can help you understand how the trailer has been treated and what expenses may be coming next.
What Are the Biggest Red Flags?
Some problems deserve extra attention before you make an offer.
Major red flags include:
- Extensive water stains
- Soft or damaged flooring
- Persistent musty odors
- Significant corrosion
- Structural or frame damage
- Repeated leaks
- Evidence of major accident repairs
- Severely worn tires
- Non-functioning major appliances
- Extensive DIY electrical or plumbing modifications
One small issue doesn't necessarily mean you should walk away. The important question is how extensive the problem is and what it will cost to correct.
Should You Get a Professional Airstream Inspection?
Yes, especially if you're purchasing an older or expensive Airstream.
A professional Airstream pre-purchase inspection can provide a more detailed evaluation of the trailer's structure, water intrusion, electrical and plumbing systems, appliances, suspension, brakes, seals, and overall condition.
It can also help you distinguish between routine maintenance and repairs that could significantly affect the trailer's value.
Questions to Ask the Seller Before Buying
Before completing the purchase, ask:
- How long have you owned the Airstream?
- Why are you selling it?
- Has it ever had water damage?
- Has it been involved in an accident?
- When were the tires last replaced?
- Have the axles or suspension been replaced?
- Have any major appliances been replaced?
- When was the roof last inspected or resealed?
- Where has the Airstream been stored?
- Are complete maintenance records available?
Whenever possible, verify answers with documentation.
Final Thoughts
An Airstream pre-purchase inspection is one of the smartest steps you can take before buying a used trailer. A polished exterior and beautiful interior don't necessarily tell you what's happening underneath.
Check the exterior, roof, seals, flooring, frame, axles, suspension, tires, brakes, electrical system, plumbing, propane system, appliances, windows, interior, and maintenance history.
Most importantly, don't hesitate to bring in a qualified professional when something doesn't look or feel right. Identifying potential Airstream repair needs before you buy can help protect your investment and give you greater confidence on the road.