
How to Prevent Airstream Water Damage Before It Becomes Expensive
How to Prevent Airstream Water Damage Before It Becomes Expensive
Water damage is one of the most common and potentially expensive problems an Airstream owner can face. A small leak around a window, roof vent, seam, or exterior fitting may seem harmless at first, but moisture can gradually damage flooring, walls, cabinetry, insulation, and structural components.
The good news is that Airstream water damage is often preventable with regular inspections, proper maintenance, and quick action when you notice warning signs.
Whether you regularly travel around Dallas-Fort Worth or keep your Airstream in storage, these preventative steps can help protect your trailer and reduce the risk of costly Airstream repairs.
Why Is Water Damage So Serious in an Airstream?
Water rarely stays where it enters.
A small leak can travel behind walls, under flooring, or into areas that are difficult to see. By the time you notice staining or a soft floor, the underlying damage may already be significant.
Unaddressed moisture can contribute to:
- Soft or deteriorated flooring
- Damaged cabinetry
- Interior staining
- Mold and unpleasant odors
- Corrosion
- Damaged insulation
- Electrical problems
- Structural deterioration
- Expensive repair work
That's why finding and fixing the source of a leak early is so important.
1. Inspect Your Airstream Roof Regularly
The roof is one of the most important areas to inspect for potential water intrusion.
Look for:
- Cracked or deteriorated sealant
- Damaged roof vents
- Loose fittings
- Gaps around antennas
- Damaged skylights
- Signs of standing water
- Areas where sealant has separated
You don't necessarily need to wait until you see water inside the trailer. Preventive roof inspections can help identify vulnerable areas before they become active leaks.
2. Check Windows and Doors for Failed Seals
Windows and doors are common entry points for water.
Inspect the seals and surrounding areas for cracking, shrinking, gaps, or deterioration. After heavy rain, check the interior around windows and doors for dampness or staining.
If a seal looks damaged, address it promptly instead of waiting for water to enter.
3. Pay Attention to Exterior Seams and Rivets
Airstream's aluminum exterior contains numerous seams, fasteners, and openings.
Inspect these areas periodically for:
- Missing or damaged sealant
- Loose components
- Cracked seals
- Corrosion
- Visible gaps
- Signs of previous repairs
A small opening can allow moisture to enter during heavy rain or while traveling through wet conditions.
4. Inspect the Floor for Soft Spots
Your Airstream's floor can provide important clues about hidden water damage.
Walk through the trailer and pay attention to areas that feel:
- Soft
- Spongy
- Uneven
- Flexible
- Different from surrounding flooring
A soft spot doesn't necessarily identify the exact source of a leak, but it is a reason to investigate further.
Avoid simply covering the area with new flooring without determining why the damage occurred.
5. Check Cabinets and Interior Walls
Water damage isn't always obvious on the floor.
Look inside cabinets, storage compartments, and areas near plumbing fixtures for:
- Discoloration
- Swelling
- Musty odors
- Dampness
- Peeling materials
- Warped surfaces
These signs can indicate moisture behind or underneath the visible surface.
6. Inspect Plumbing Connections
Airstream water damage can also originate from inside the trailer.
Check around:
- Sinks
- Toilets
- Showers
- Water heaters
- Faucets
- Water pumps
- Fresh-water connections
- Drain lines
Even a slow plumbing leak can cause significant damage if it continues for months.
If you notice persistent moisture under a sink or around a plumbing connection, identify and repair the source as soon as possible.
7. Don't Ignore Your Airstream's Exterior After Severe Weather
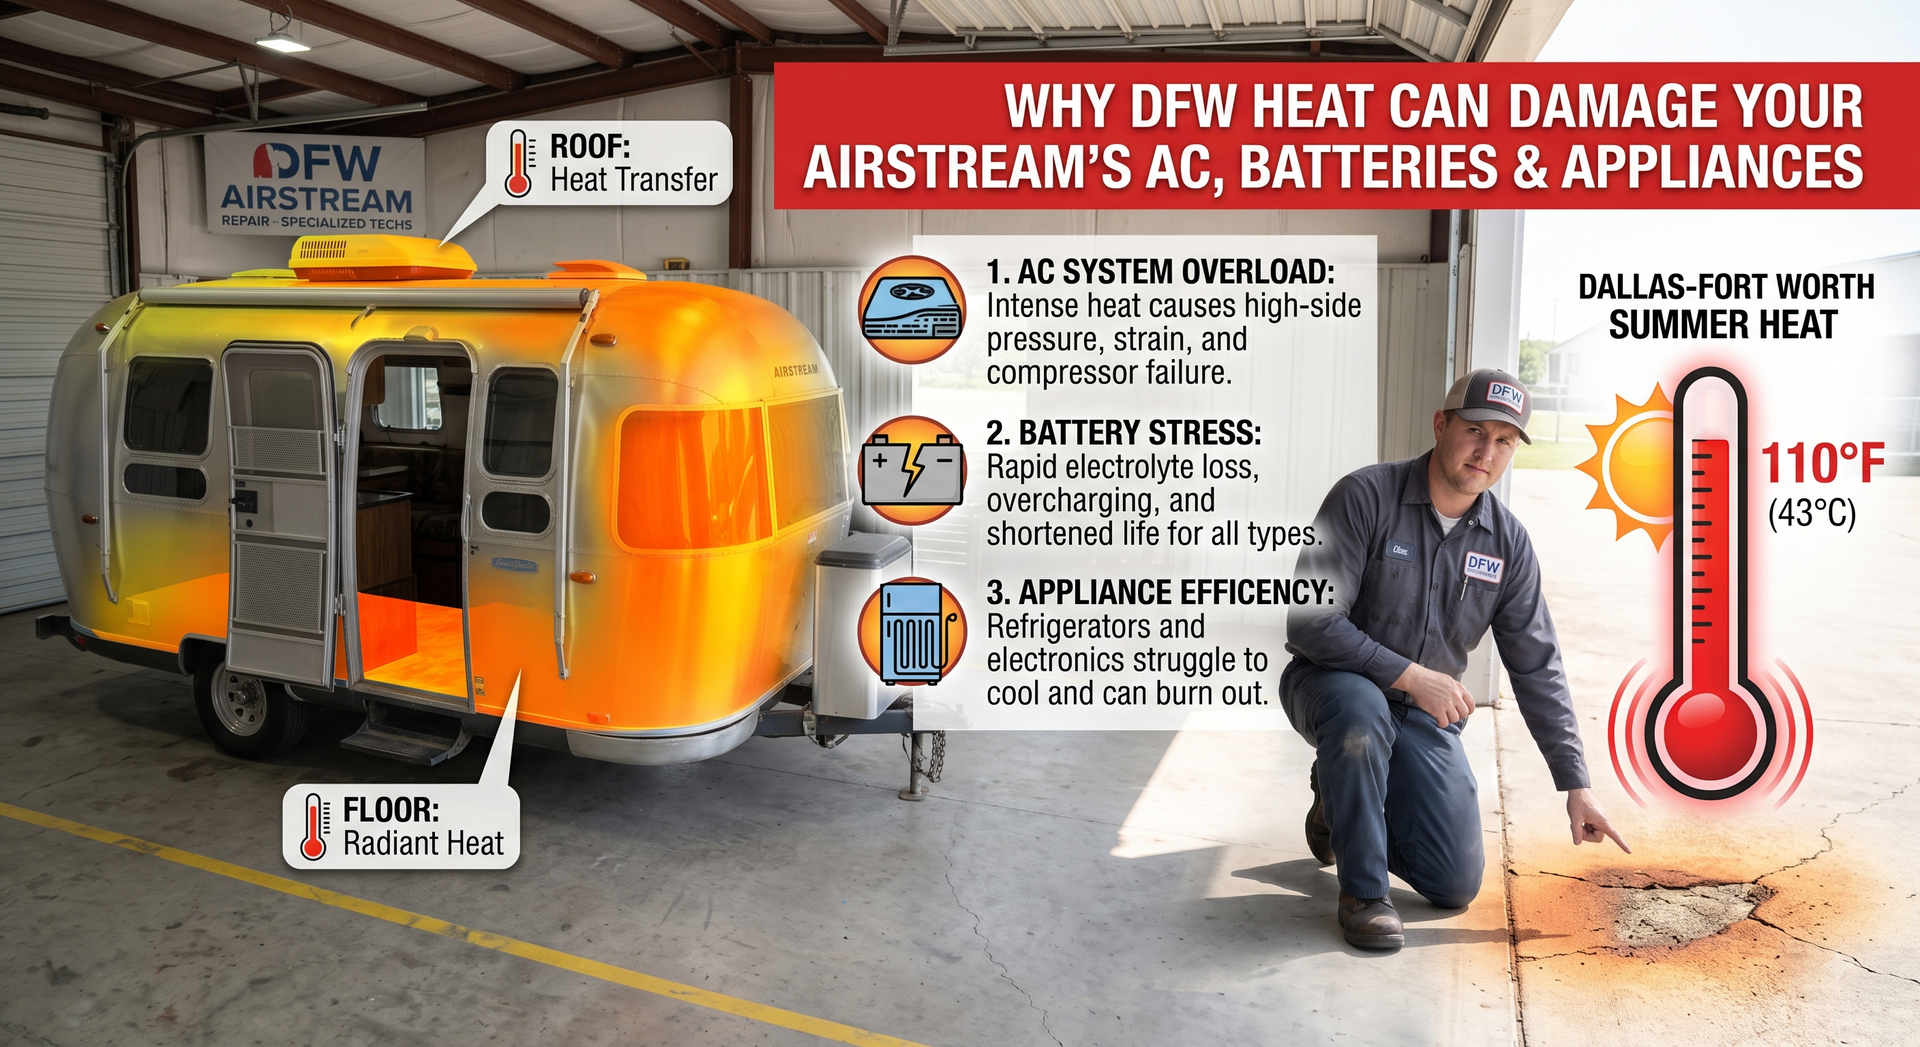
Dallas-Fort Worth weather can be hard on RVs. Heavy rain, strong winds, hail, and extreme temperature changes can affect exterior seals and components.
After significant weather events, perform a quick inspection of:
- Roof components
- Windows
- Doors
- Exterior seams
- Vents
- Sealant
- Awning areas
Catching damage early can make a major difference in repair costs.
8. Maintain Your Airstream's Sealant
Sealant doesn't last forever.
Over time, exposure to sunlight, heat, rain, and temperature changes can cause sealants to crack, shrink, or separate.
Don't automatically apply new sealant over old, failing material. The correct repair may require removing deteriorated sealant, properly preparing the surface, and applying an appropriate product according to the manufacturer's recommendations.
If you're unsure which sealant or repair method is appropriate, consult an experienced Airstream technician.
9. Look for Early Warning Signs
The earlier you identify water intrusion, the better.
Watch for:
- Musty smells
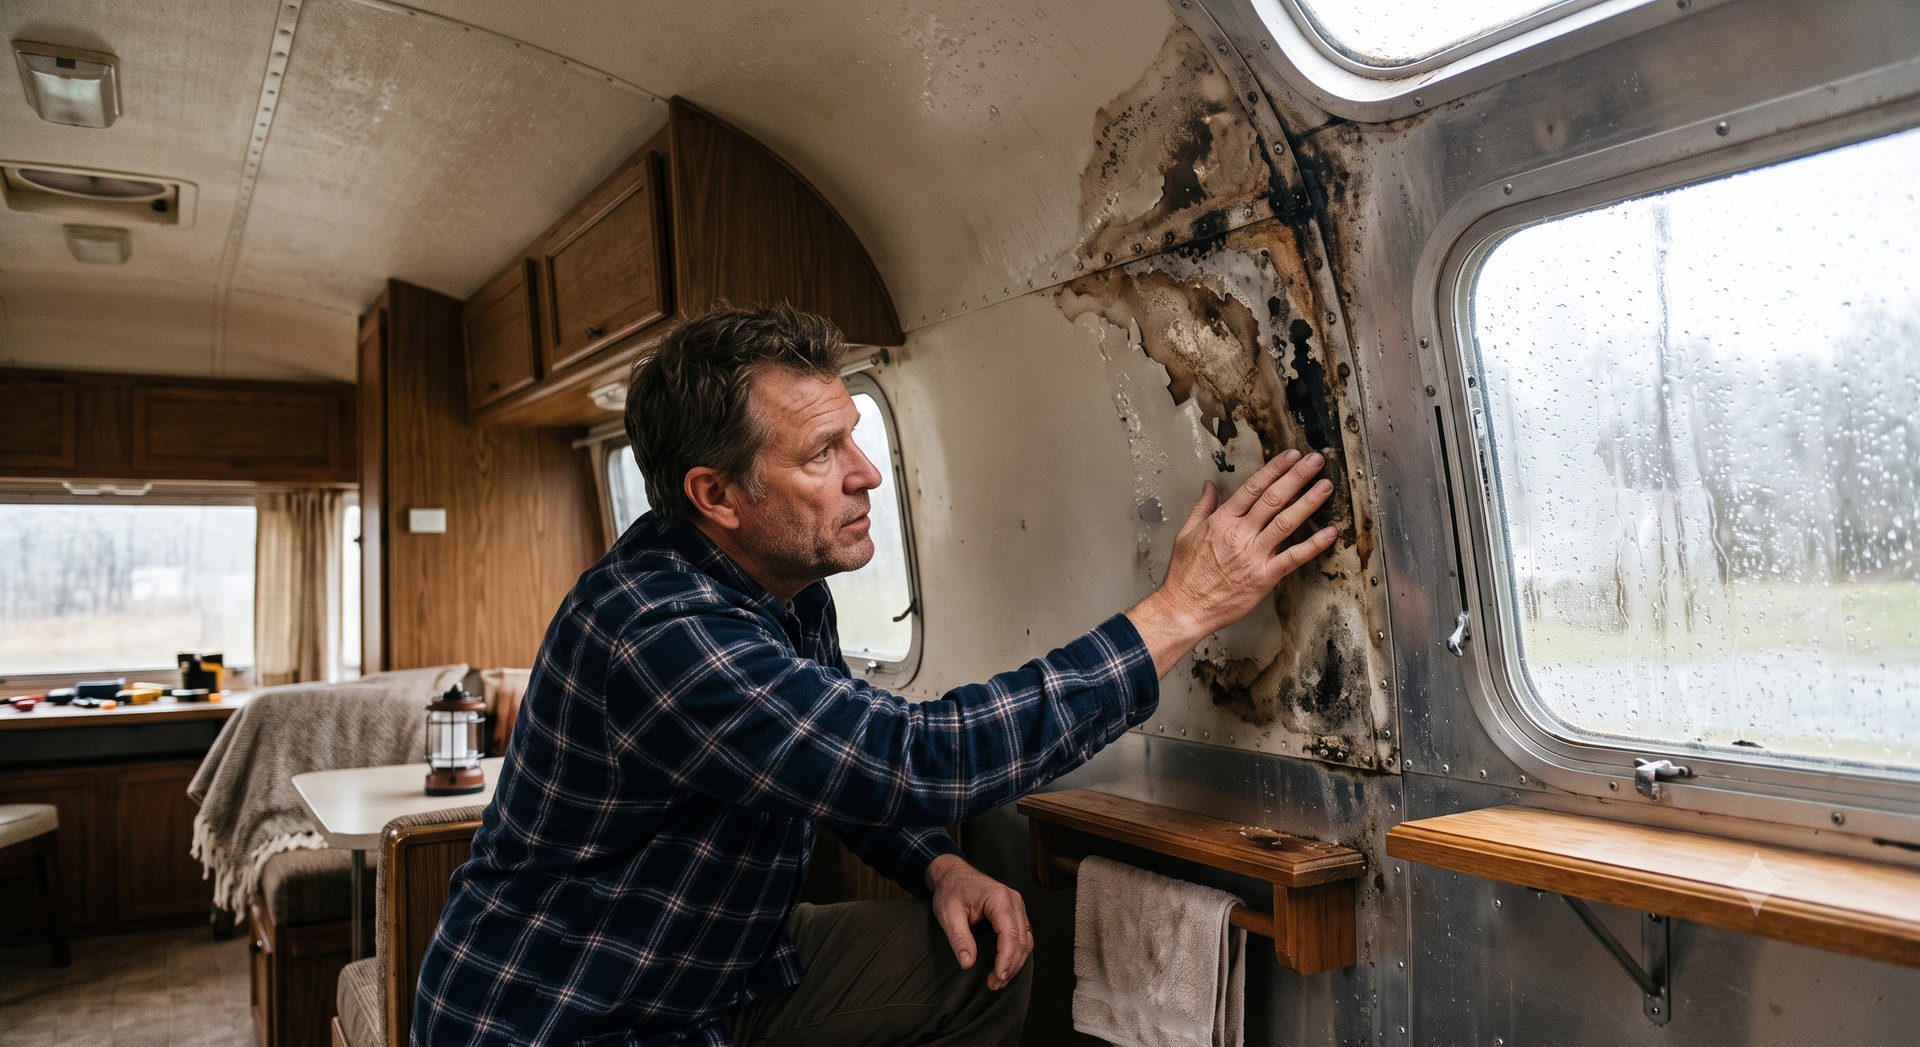
- Water stains
- Dark spots
- Soft flooring
- Bubbling or warped materials
- Damp cabinets
- Peeling surfaces
- Corrosion
- Unexplained moisture
- Recurring condensation
Never assume a small stain is only cosmetic. It may indicate an active or previous leak that needs investigation.
10. Schedule Preventive Airstream Inspections
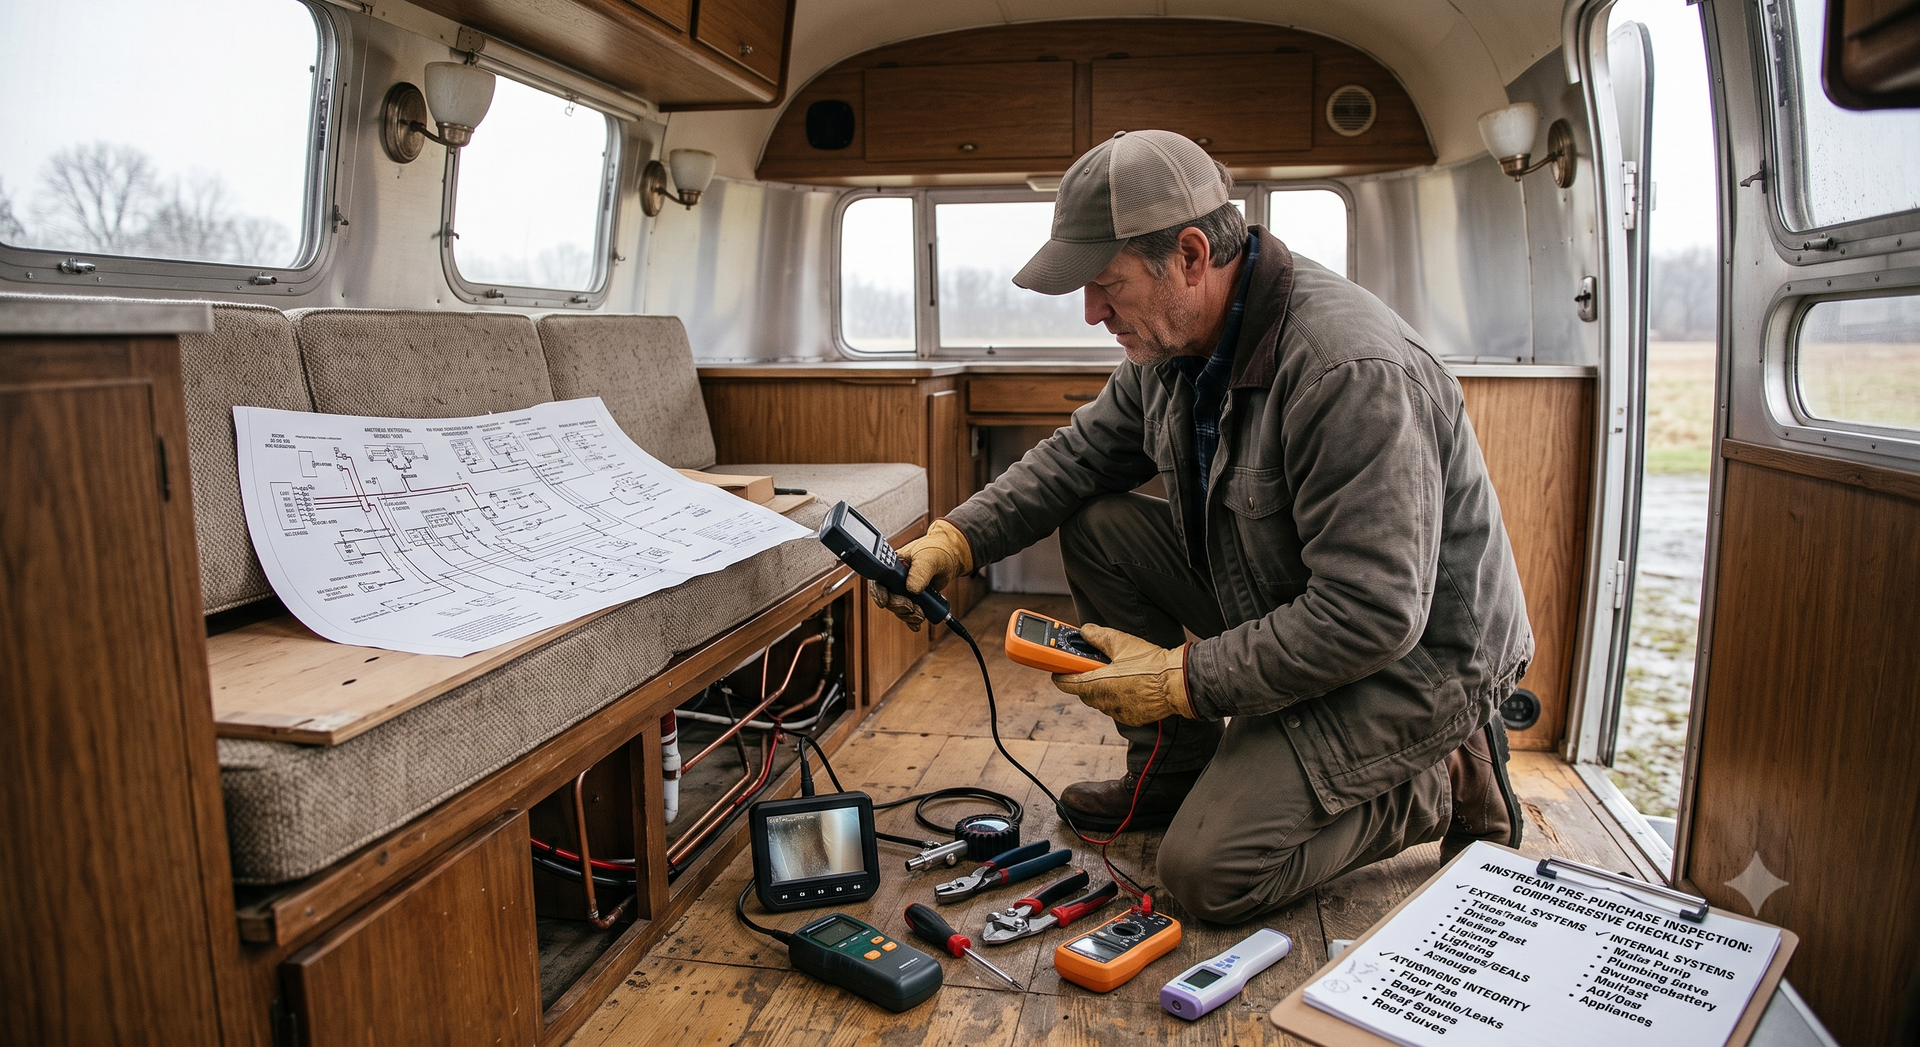
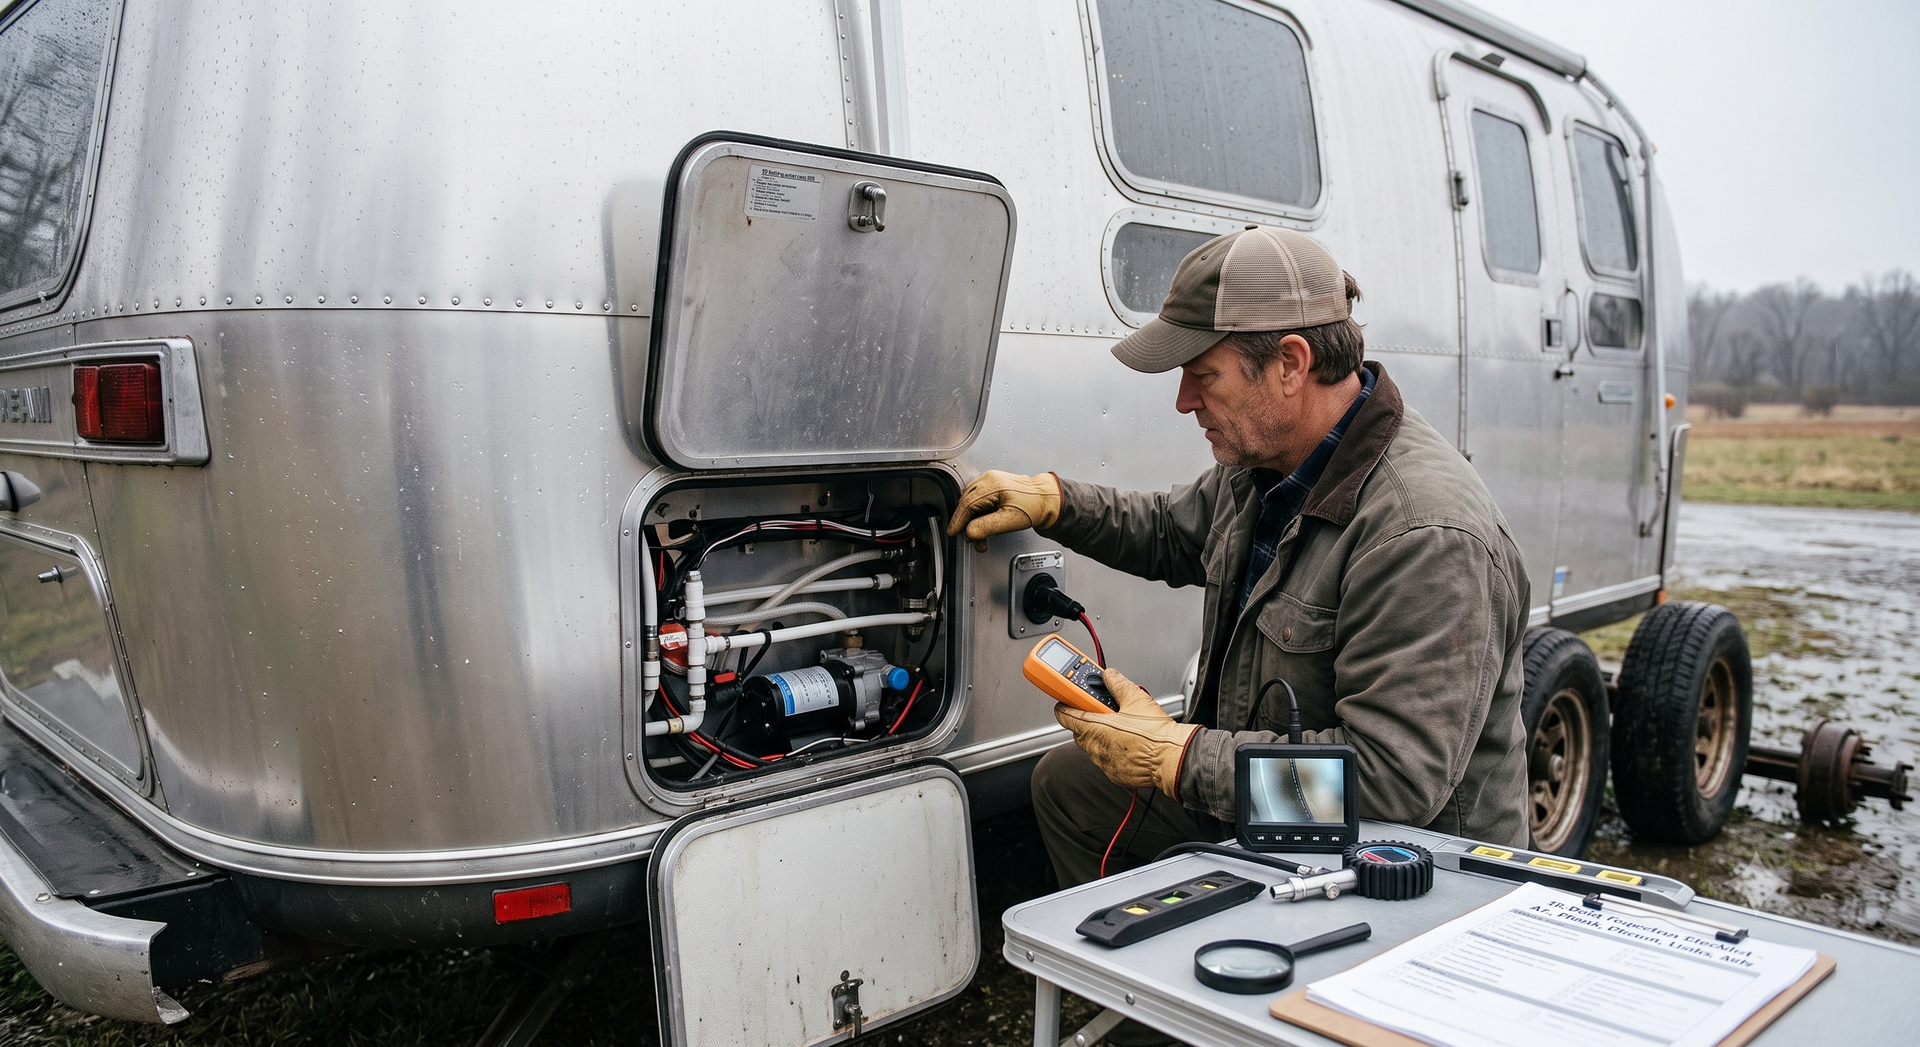
One of the best ways to prevent expensive water damage is to have your Airstream professionally inspected.
A technician can check areas that may be difficult for an owner to evaluate, including exterior seals, roof components, plumbing, flooring, and potential structural concerns.
Consider scheduling an inspection:
- Before a long trip
- After purchasing a used Airstream
- After severe weather
- Before long-term storage
- When you notice unexplained moisture
- As part of regular preventative maintenance
What Should You Do If You Find Water Damage?
If you discover moisture, don't simply dry the visible area and assume the problem is solved.
Instead:
- Identify where the moisture is appearing.
- Look for the potential source.
- Check nearby flooring, walls, and cabinets.
- Document the affected area.
- Address the source of the water intrusion.
- Have hidden damage professionally evaluated if necessary.
The most important step is finding where the water is coming from. Repairing the visible damage without fixing the source can allow the problem to return.
How Much Can Airstream Water Damage Cost?
The cost can vary significantly depending on the location and severity of the damage.
A minor seal repair may be relatively straightforward, while extensive floor, wall, or structural deterioration can require substantially more labor and materials.
This is why preventive maintenance is so valuable. Spending time and money on inspections and small repairs today can potentially prevent much larger repair bills later.
When Should You Call an Airstream Repair Technician?
Professional help is recommended when you notice:
- Persistent water leaks
- Soft or deteriorated flooring
- Significant wall or ceiling stains
- Water entering through the roof
- Extensive sealant failure
- Hidden moisture
- Structural concerns
- Repeated leaks after previous repairs
An experienced technician can help locate the source, assess the extent of the damage, and recommend the appropriate repair.
Final Thoughts
Preventing Airstream water damage is much easier than repairing extensive moisture damage after it has spread.
Regular roof and seal inspections, plumbing checks, floor inspections, and preventive maintenance can help identify problems before they become expensive.
For Airstream owners in Dallas-Fort Worth, regular inspections are particularly valuable because intense heat, storms, and changing weather conditions can put additional stress on exterior seals and components.
If you notice a leak, stain, soft floor, or unexplained moisture, don't wait. Find the source, address it early, and protect your Airstream before a small problem becomes a major repair.