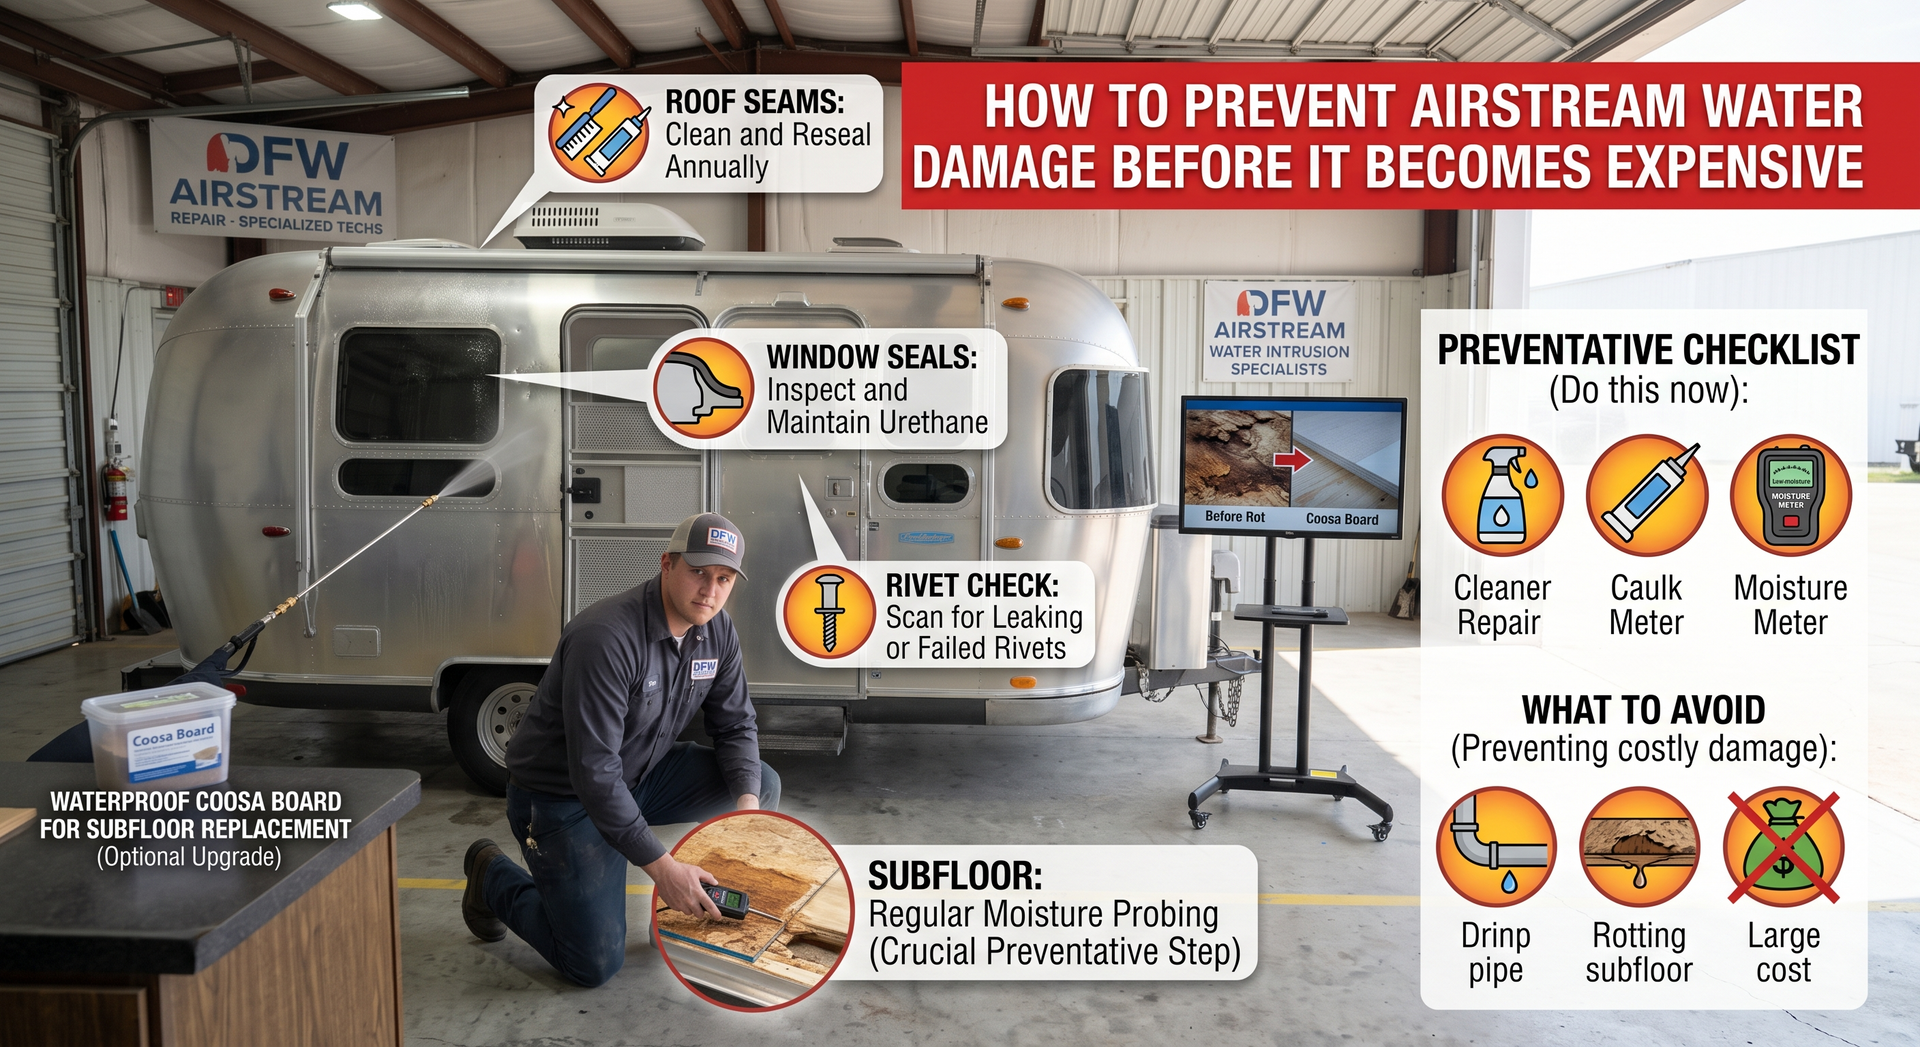

Airstream Roof Repair: Warning Signs You Should Never Ignore
An Airstream trailer is built to withstand years of travel, but no RV roof is immune to wear and tear. Constant exposure to sunlight, rain, wind, snow, and road vibrations can gradually weaken roof seals, vents, and joints. Ignoring small issues today can lead to expensive repairs tomorrow.
Timely Airstream roof repair is one of the most important aspects of RV ownership. Catching problems early helps prevent water intrusion, mold growth, structural damage, and costly interior repairs.
In this guide, we'll discuss the most common warning signs of roof damage, what causes these issues, and how certified RV technicians restore your Airstream to keep it travel-ready.
Why Airstream Roof Maintenance Is Essential
Although Airstreams are known for their durable aluminum construction, the roof contains several components that require routine inspection, including:
- Roof seams
- Sealants
- Roof vents
- Skylights
- Air conditioner openings
- Solar panel mounts
- Antennas
- Plumbing vents
Over time, these areas may develop cracks, loose fittings, or deteriorated sealants, allowing moisture to enter the trailer.
Routine inspections and preventive maintenance can significantly reduce the need for major Airstream roof repair.
8 Warning Signs Your Airstream Roof Needs Repair
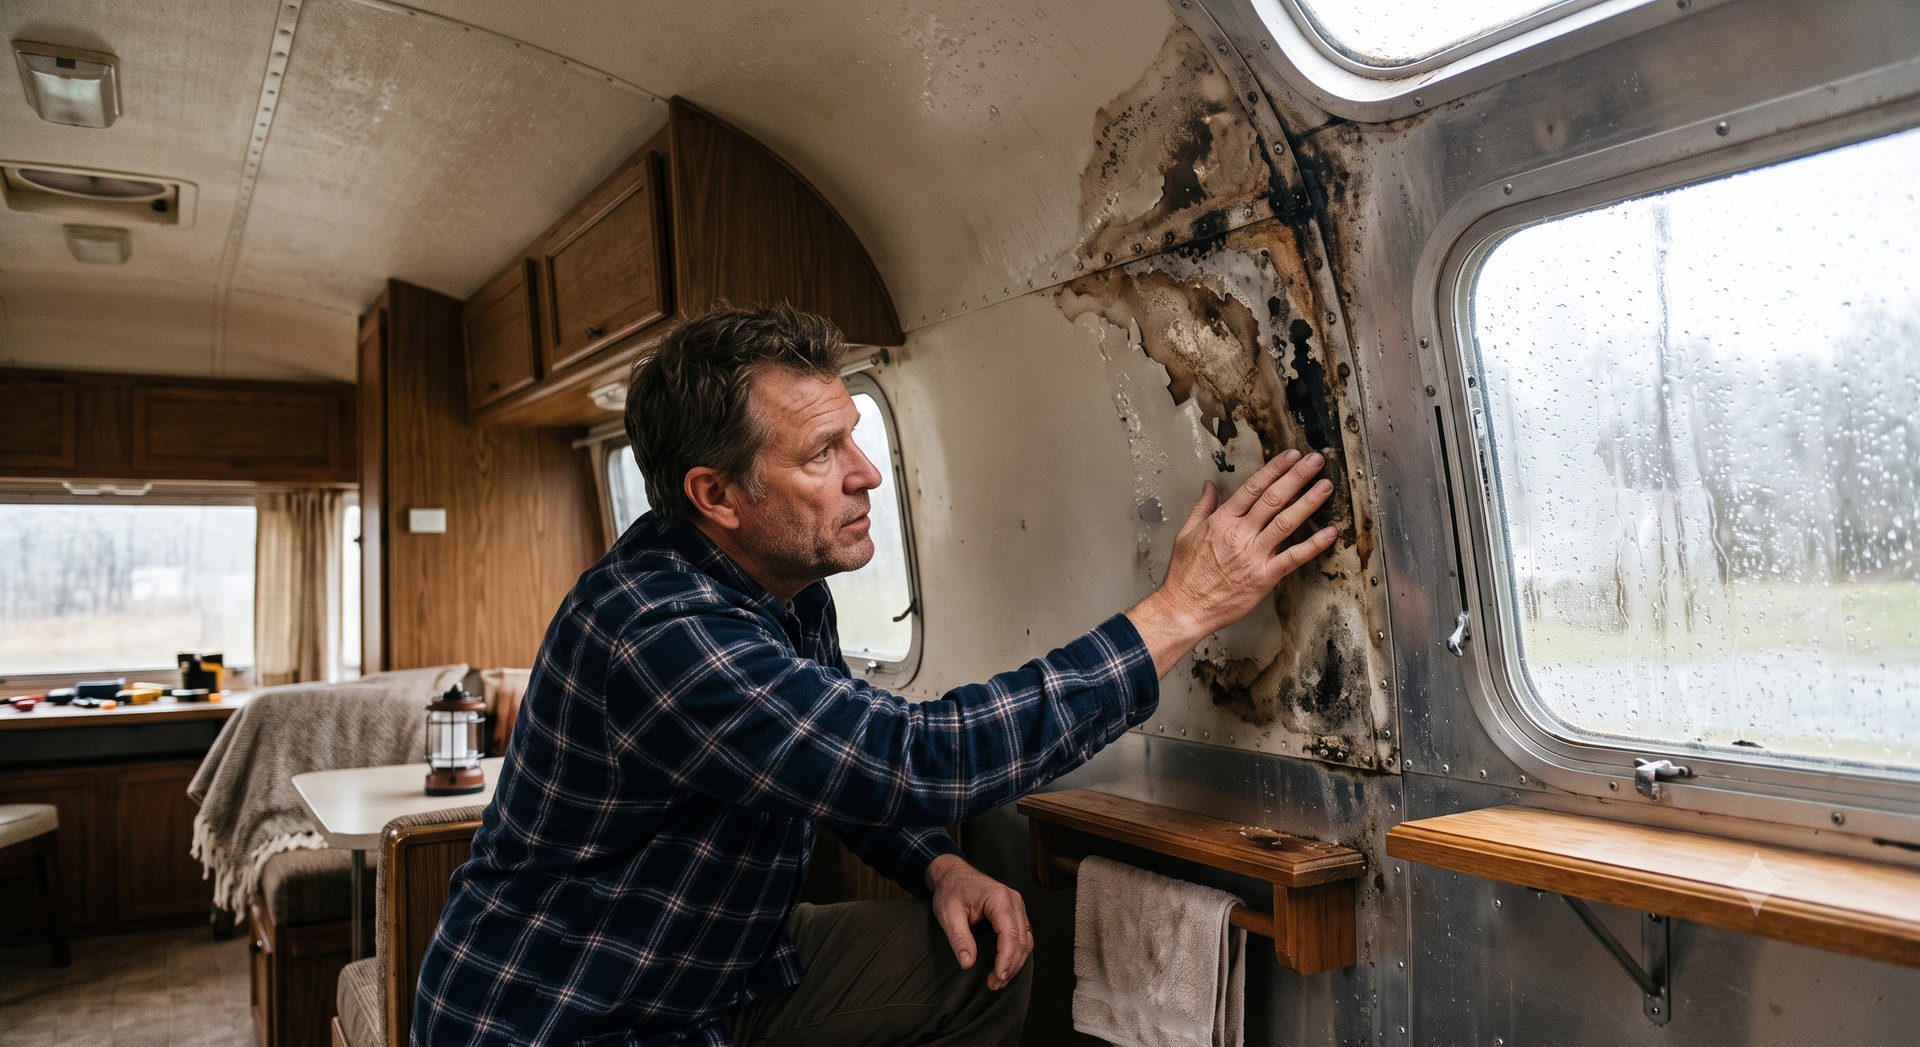
1. Water Stains Inside the Trailer
One of the earliest signs of roof damage is discoloration on ceilings or walls.
Look for:
- Brown stains
- Yellow spots
- Bubbling wallpaper
- Peeling finishes
- Damp ceiling panels
Even a small stain may indicate a hidden roof leak.
2. Soft or Spongy Ceiling Areas
If parts of the ceiling feel soft when pressed, moisture may have penetrated the roof structure.
Ignoring this issue can lead to:
- Wood rot
- Mold growth
- Insulation damage
- Structural weakening
Professional inspection is recommended immediately.
3. Cracked or Missing Roof Sealant
Sealants naturally deteriorate over time due to:
- UV exposure
- Temperature changes
- Heavy rainfall
- Road vibration
Inspect areas around:
- Roof vents
- Air conditioner units
- Skylights
- Roof seams
Cracked sealant is one of the leading causes of Airstream roof leaks.
4. Visible Roof Damage
After storms or low-hanging tree branches, inspect the roof for:
- Dents
- Scratches
- Loose trim
- Lifted seams
- Punctures
Even minor exterior damage can eventually allow water inside.
5. Mold or Musty Odors
Persistent damp smells often indicate hidden moisture behind walls or ceiling panels.
Moisture trapped inside the RV can lead to:
- Mold
- Mildew
- Interior damage
- Reduced air quality
Early roof repair helps eliminate the source before the problem spreads.
6. Loose Roof Components
Check roof-mounted accessories regularly.
These include:
- Solar panels
- Roof vents
- Satellite antennas
- Air conditioner units
Loose mounting hardware can damage sealants and create entry points for water.
7. Rust Around Fasteners or Fixtures
While the aluminum shell resists corrosion, screws, brackets, and hardware may develop rust if moisture remains trapped.
Rust stains often indicate ongoing water intrusion.
8. Dripping Water During Rain
If water enters the trailer during rainfall, immediate professional inspection is essential.
Delaying repairs increases the risk of:
- Electrical damage
- Interior deterioration
- Mold infestation
- Expensive structural repairs
Common Causes of Airstream Roof Damage
Several factors contribute to roof deterioration over time.
Weather Exposure
Years of sunlight, heavy rain, hail, and freezing temperatures gradually weaken roofing materials.
Aging Sealants
Most sealants require periodic replacement as they lose flexibility and adhesion.
Tree Damage
Low branches can scratch aluminum surfaces or puncture roof accessories.
Improper Maintenance
Skipping annual roof inspections allows small issues to become major repairs.
Road Vibrations
Thousands of highway miles place continuous stress on roof joints and fasteners.
How Certified RV Technicians Perform Airstream Roof Repair
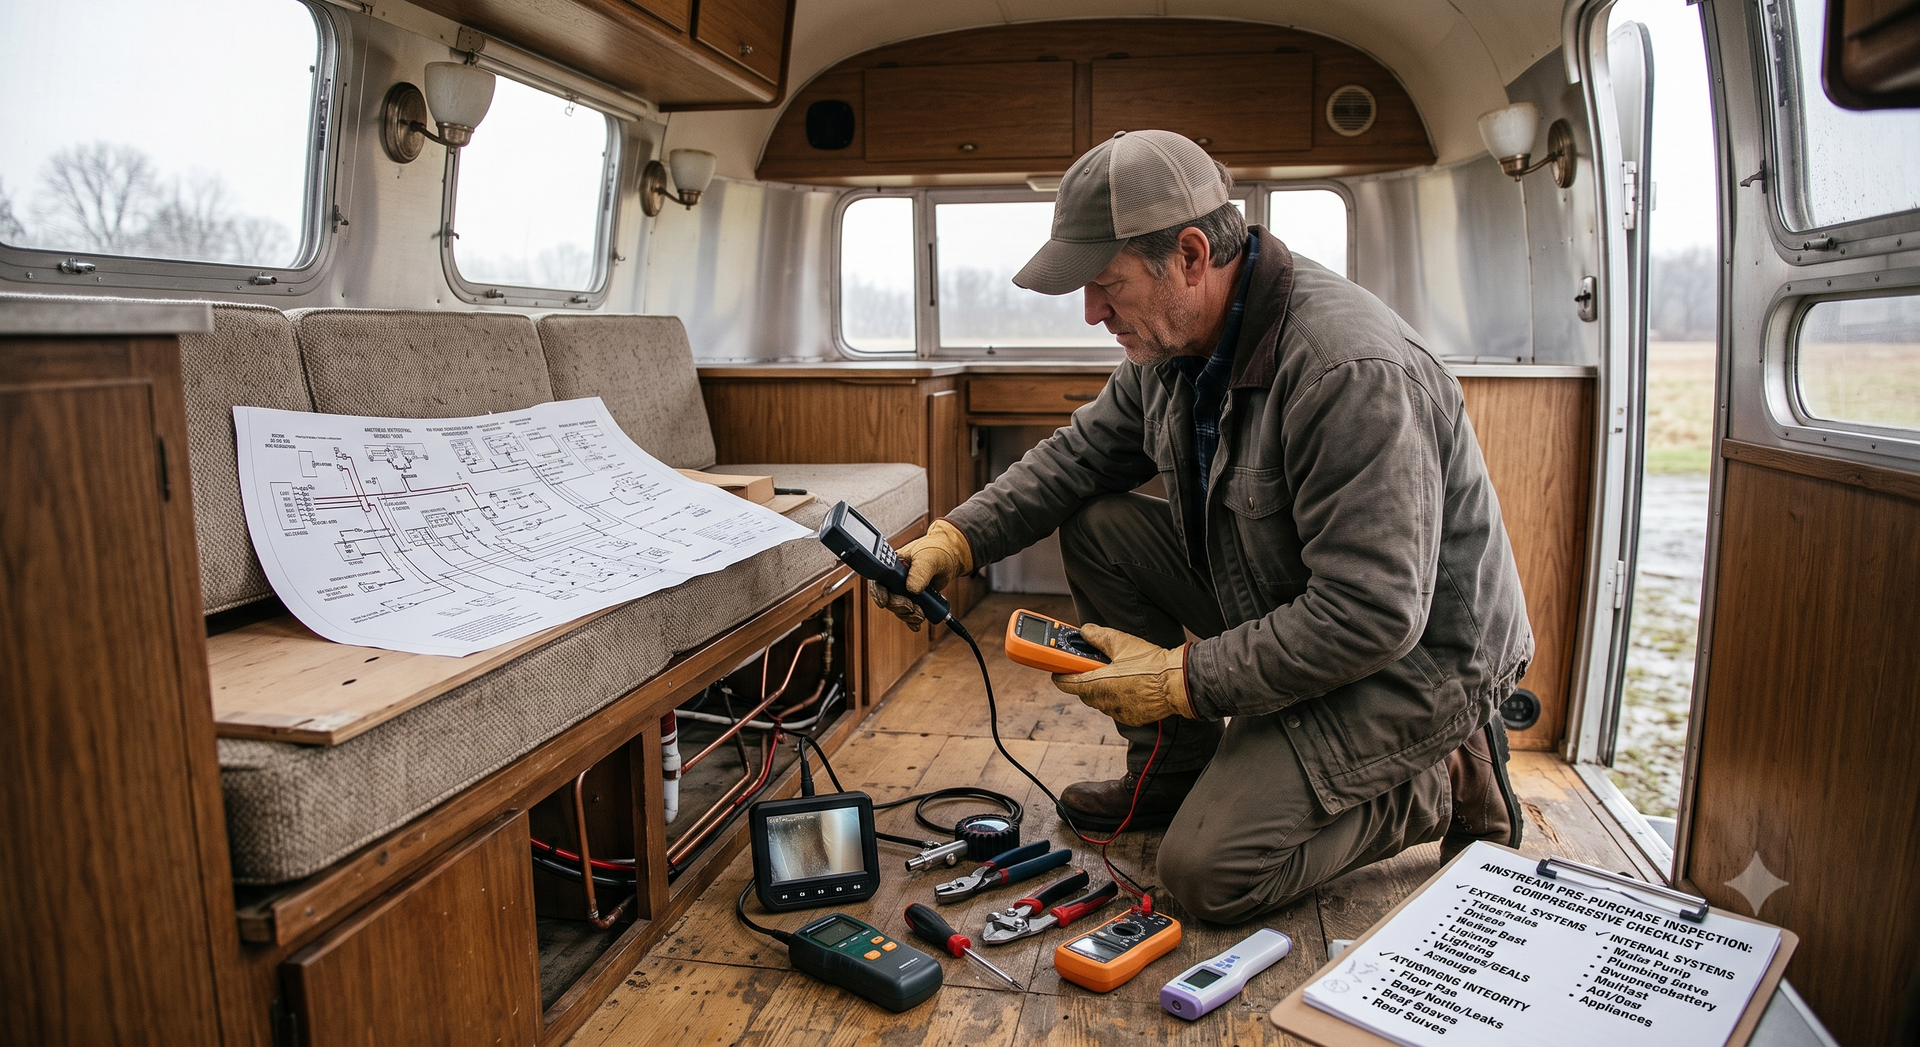
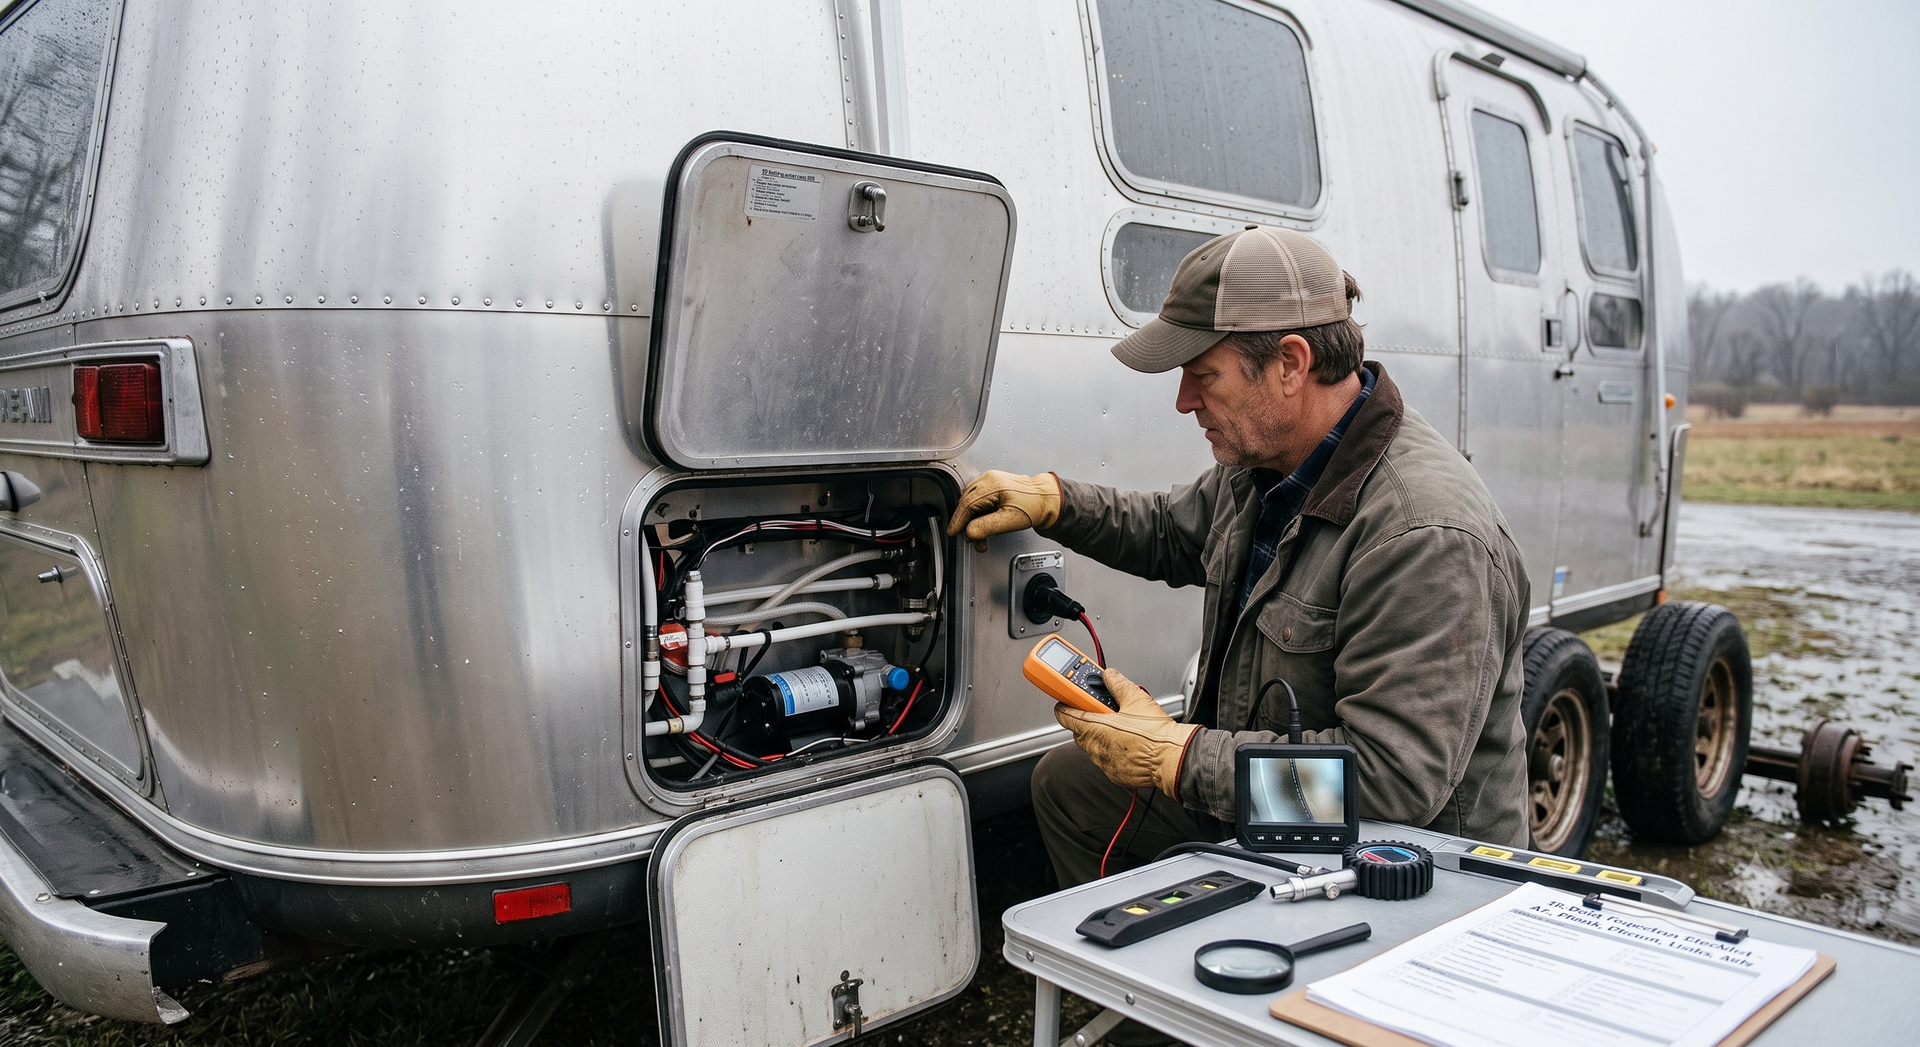
Professional roof repair begins with a detailed inspection.
Step 1: Leak Detection
Technicians inspect:
- Roof seams
- Roof vents
- Skylights
- Air conditioner openings
- Exterior trim
- Rivets
Specialized moisture detection equipment helps locate hidden leaks.
Step 2: Remove Damaged Sealants
Old or cracked sealants are carefully removed without damaging the aluminum roof.
Step 3: Replace Damaged Components
If necessary, technicians replace:
- Roof vents
- Skylights
- Gaskets
- Fasteners
- Mounting hardware
Step 4: Apply New Professional-Grade Sealants
High-quality RV sealants create a long-lasting waterproof barrier that withstands weather and road vibration.
Step 5: Final Leak Testing
After repairs, technicians test the roof to ensure every leak has been eliminated before returning the trailer to service.
Can You Repair an Airstream Roof Yourself?
Some basic maintenance tasks can be handled by experienced owners, including:
- Cleaning the roof
- Visual inspections
- Removing debris
- Checking sealant condition
However, larger repairs involving leaks, structural damage, or aluminum panels should be left to certified RV technicians.
DIY repairs with the wrong sealants or methods can worsen leaks and increase repair costs.
Tips to Prevent Future Roof Damage
Preventive maintenance helps extend your roof's lifespan.
Inspect the Roof Twice a Year
Check for:
- Cracks
- Loose sealants
- Missing hardware
- Damage after storms
Wash the Roof Regularly
Removing dirt and debris helps reveal small cracks before they become major issues.
Trim Overhanging Tree Branches
Avoid scratches and impact damage while parked.
Store Your Airstream Properly
Whenever possible:
- Use a covered storage area.
- Install an RV cover designed for Airstream trailers.
- Avoid long-term exposure to standing water.
Schedule Annual Professional Roof Inspections
Certified technicians can identify hidden problems long before they become visible inside the trailer.
When Should You Schedule Airstream Roof Repair?
Arrange professional service if you notice:
- Ceiling stains
- Water leaks
- Cracked sealant
- Loose roof fixtures
- Soft ceiling panels
- Mold odors
- Storm damage
- Roof dents
Addressing these warning signs early can save thousands of dollars in future repairs.
Why Choose Certified RV Technicians?
Airstream trailers have a unique aluminum construction that requires specialized repair techniques.
Certified RV technicians provide:
- Accurate leak detection
- Professional-grade sealants
- Proper aluminum repair methods
- Safe roof access equipment
- Thorough post-repair testing
- Long-lasting repair solutions
Their expertise helps preserve your trailer's structural integrity and resale value.
Conclusion
Your Airstream roof protects everything inside your trailer, making it one of the most important components to maintain. Ignoring minor leaks, cracked sealants, or visible damage can quickly lead to expensive repairs, mold, and structural issues.
By recognizing these warning signs and scheduling timely Airstream roof repair, you can protect your investment, extend the life of your trailer, and travel with confidence. Regular inspections and professional maintenance ensure your Airstream stays weather-resistant and ready for every adventure.
Frequently Asked Questions
How often should an Airstream roof be inspected?
Inspect your roof at least twice a year and after severe weather or long road trips. Annual professional inspections are also recommended.
What causes most Airstream roof leaks?
The most common causes include aging sealants, cracked roof vents, loose fixtures, damaged seams, and weather-related wear.
Can I repair an Airstream roof leak myself?
Minor inspections and cleaning are suitable for many owners, but significant leaks and structural repairs should be handled by certified RV technicians.
How long does Airstream roof repair take?
Minor resealing projects may take a few hours, while extensive leak or structural repairs can require several days, depending on the damage.
How can I prevent costly roof repairs?
Regular inspections, prompt leak repairs, cleaning, proper storage, and routine maintenance are the best ways to prevent major roof damage.